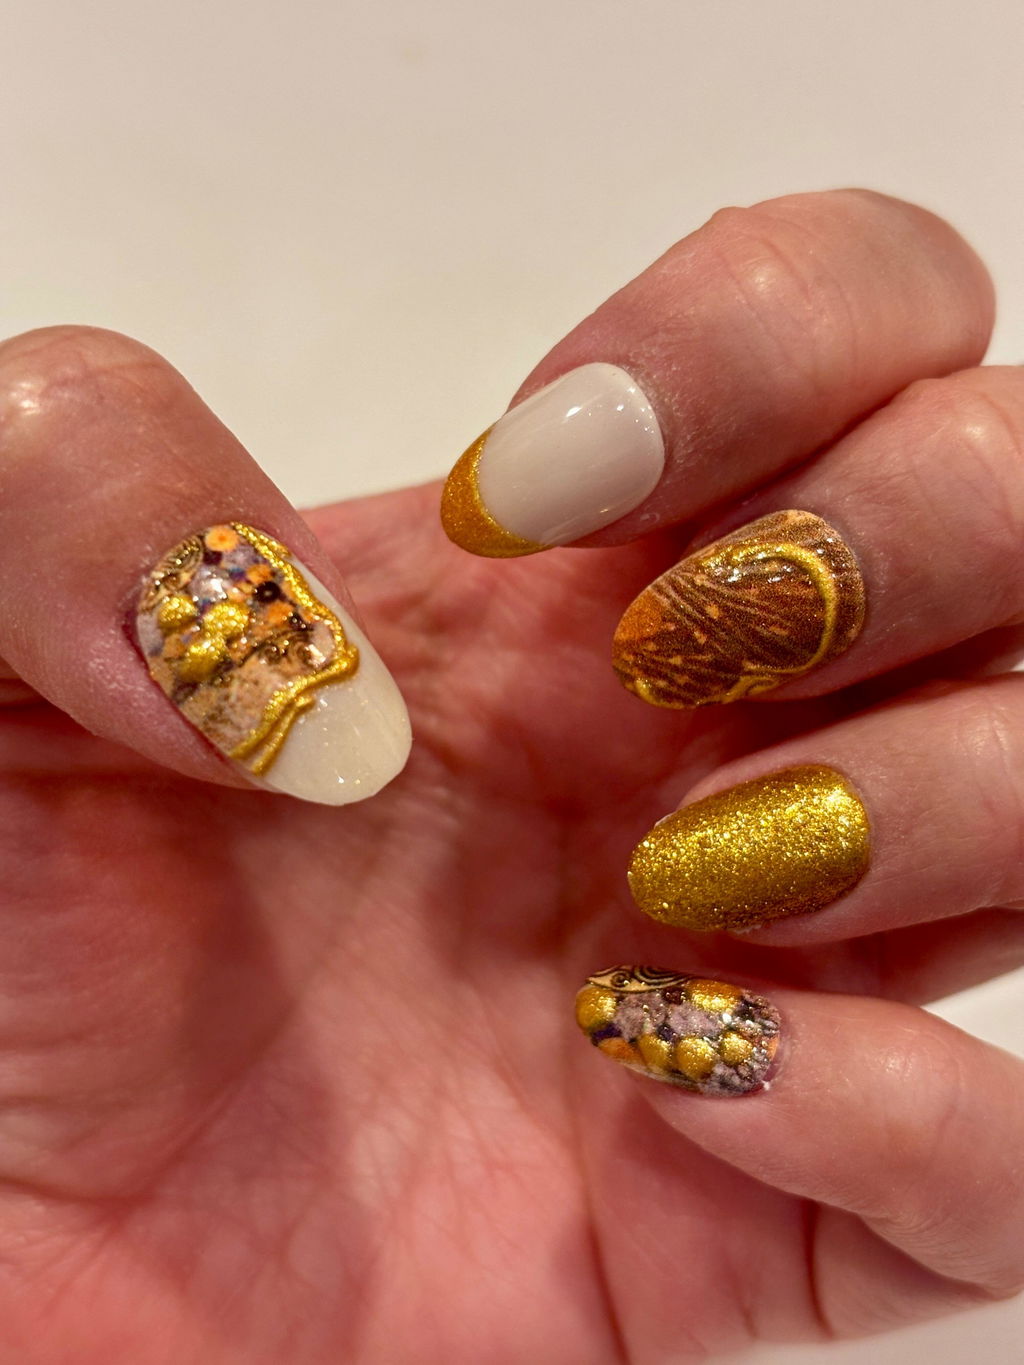
How to Get a Seamless, Salon-Quality Manicure at Home with Press-On Nails
The short answer: A seamless, salon-quality press-on manicure at home comes down to four things — the right fit, a clean nail prep, a strong adhesive, and a steady application technique. Nail all four and no one will know you didn't just walk out of a salon.
We hear it constantly: you pick the most gorgeous set, follow every step, and still end up with one hand that looks editorial and one that looks like a Tuesday. The non-dominant hand struggle is real. The edge that catches on your hair? Also real. The nail that lifts on day three when you specifically needed it to last through the weekend? Deeply, personally offensive.
If the adhesion gamble is what's wearing you down, nail sticker designs applied over polish are a simpler route to the same salon-worthy finish.
Here's the thing — it's almost never about skill. It's about prep, fit, and the right tools. Let's fix all of it.
Why DIY Press-On Manicures Fall Short (And How to Fix It)
The gap between a salon finish and a home application usually comes down to a few specific, fixable problems. Most people skip steps that professional nail techs do automatically. Once you know what those steps are, the results change fast.
If you've ever struggled to replicate professional results on your own, read our breakdown on why salon-quality nails at home are so hard and how press-ons fix it.
Problem 1: Poor Fit and Lifting Edges
The single biggest reason press-ons look "stuck on" rather than grown-out is a bad fit. If the nail is even slightly too wide, it'll lift at the edges. Too narrow and you'll see gaps. Both outcomes catch on fabric, snag hair, and make the whole manicure look amateur.
The fix: Size down, not up. When you're between two sizes, always go smaller — you can file the sides of a press-on to widen the fit, but you can't add material back. Lay each nail against your natural nail before applying and check that the side walls sit flush without touching your skin. If a nail is close but not quite right, a few swipes of a fine-grit file along the edges makes a significant difference.
If you have a flat C-curve (meaning your nail bed is relatively flat rather than curved), standard press-on shapes may not conform naturally. In that case, gently warming the press-on between your fingers for a few seconds before pressing it down helps it mold slightly to your nail's shape. Hold firm pressure for 30–60 seconds to set the bond.
To better understand your arch profile and find designs that match, check out our complete guide to nail shape and C-curve compatibility for press-ons.
Problem 2: Nails That Don't Last
Getting four or five days out of a press-on set when you expected two weeks is one of the most common frustrations in the category — and it's almost always a prep issue rather than an adhesive issue.
For a full breakdown of how to fix that, check out our guide to making press-on nails last longer.
For a deeper look at the most common reasons press-ons fall off early — and how to fix each one — read our guide on why your press-on nails keep falling off.
The fix: Nail prep is everything. Follow this sequence before every application:
- Push back your cuticles using the cuticle stick included in your Never Have I Ever kit. Any cuticle sitting on the nail plate will break the adhesive seal immediately.
- Buff the surface lightly. A quick pass with the fine side of your nail file removes the shine from your natural nail and gives the adhesive something to grip.
- Cleanse with the alcohol pad. This removes oils, lotion residue, and dust — all of which are adhesive killers. Do this last, right before you apply, and don't touch your nail plate afterward.
- Apply nail glue to both surfaces — your natural nail and the underside of the press-on — for maximum hold. Let it get slightly tacky (about 10 seconds) before pressing down.
- Press and hold. Apply firm, even pressure for a full 30–60 seconds. Most people let go too soon.
Avoid water for at least an hour after application. Wear gloves when washing dishes. These small habits add days to your wear time.

Problem 3: The Non-Dominant Hand Problem
Every person who has ever done their own nails knows the dominant hand looks great and the other hand looks like it was applied in the dark. This is a technique issue, and it's completely solvable with a small adjustment.
The fix: Brace, don't hover. Rest your applying hand on a flat surface and bring your other hand to it, rather than trying to work in mid-air. Use your thumb and index finger to press the nail down from the cuticle edge first, then rock forward toward the tip — this pushes out air bubbles and seats the nail flush. Work slowly on your non-dominant hand. Speed is the enemy of a seamless edge.
The Prep Routine That Changes Everything
Think of nail prep the way a painter thinks about priming a canvas. The most beautiful design in the world won't show well on a surface that isn't ready. Here's the full routine, simplified:
- Remove all old polish or product completely before you start.
- Trim and shape your natural nails short — press-ons sit better on a clean, short base.
- Push back cuticles gently. Don't cut them; just move them out of the nail plate area.
- Buff lightly to remove shine and create texture for adhesion.
- Wipe with the alcohol pad as your very last step before applying.
If you have naturally oily nail beds, this step is especially important. Oily nails are the number one reason press-ons lift early. Some people with very oily nails benefit from a thin layer of nail dehydrator or base coat before applying — but at minimum, the alcohol wipe is non-negotiable.

Choosing the Right Adhesive Method
Never Have I Ever kits come with nail glue and double-sided adhesive tabs, and knowing when to use each one makes a real difference in your results.
Nail Glue: For Longevity
Nail glue creates a stronger, longer-lasting bond and is the better choice when you want your set to last a full week or more. Apply a thin layer to your natural nail, let it get slightly tacky, then press the nail on firmly. Brush-on glue gives you more control than squeeze-tube formats — apply it the same way you'd apply a topcoat.
Adhesive Tabs: For Flexibility
Adhesive tabs are great when you want to wear a set for a shorter period — a weekend, an event, a few days — and then remove it cleanly to reuse the nails. They're also gentler on your natural nails. The trade-off is that they typically won't hold as long as glue, especially if your hands are frequently in water.
For the best of both worlds on a special occasion: use nail glue on your dominant hand (which takes more impact) and tabs on your non-dominant hand if you're nervous about removal.

Getting a Seamless Edge: The Detail That Makes It Look Salon-Done
The difference between a press-on that looks professional and one that looks DIY often comes down to the edge. A visible seam between the press-on and your natural nail is the tell. Here's how to minimize it:
- File the free edge after application. Once the nail is on and the glue is set, run a fine-grit file lightly across the tip to blend the press-on edge with your natural nail tip.
- Apply a thin topcoat over the entire nail, including the seam at the base and the tip. This seals the edge and adds a unified, glossy finish that looks like it came from a salon lamp.
- Check the cuticle line. If there's a small gap at the base, a thin swipe of nail glue along the inner edge (applied with a toothpick) can seal it before it becomes a lifting point.
Designs Worth Mastering Your Application For
Once your technique is dialed in, the fun part is choosing what to wear. Never Have I Ever's press-on nail collections are designed by real artists — which means the designs are genuinely one-of-a-kind and worth showing off properly.

If you're new to press-ons or working on your technique, start with a set that has a clean, solid design — something like Cherry Cola or Fairy Wing. Simpler designs are more forgiving while you're building confidence with fit and application. Once you've got the process down, graduate to the more detailed artist collaborations — the Frida Kahlo set or the Van Gogh Sunflowers — where every detail is worth showing off up close.

A Note on Reusability
One of the biggest advantages of Never Have I Ever press-ons is that they're reusable — which means every set you master the application on is a set you can wear again and again. When you're ready to remove, soak your nails in warm water for a few minutes to loosen the adhesive, then gently lift from the sides using your cuticle stick. Never force or peel — that's what damages your natural nail. Store your sets in their original packaging or a small nail box, and they'll be ready for round two.
Quick-Reference Application Checklist
- ✔ Size each nail before applying — size down when in between
- ✔ Push back cuticles completely off the nail plate
- ✔ Buff the surface lightly to remove shine
- ✔ Wipe with the alcohol pad as your final prep step
- ✔ Apply glue to both surfaces for maximum hold
- ✔ Press from cuticle to tip, hold for 30–60 seconds
- ✔ File the free edge after application to blend the seam
- ✔ Seal with a thin topcoat for a unified, salon finish
- ✔ Avoid water for at least one hour after application
Frequently Asked Questions
Why do my press-on nails keep lifting at the edges?
Lifting at the edges is almost always caused by one of three things: the nail is slightly too wide for your nail bed, your cuticles weren't pushed back far enough before application, or there was oil or moisture on your nail plate when you applied. Go through the prep checklist above — especially the alcohol wipe — and size down if you're between sizes.
How do I make press-on nails last longer than a week?
The biggest factors in longevity are nail prep (buffing + alcohol wipe), applying glue to both surfaces, pressing and holding for a full 60 seconds, and avoiding prolonged water exposure. Wearing gloves for dishes and cleaning makes a noticeable difference in how long your set lasts.
How do I get my non-dominant hand to look as good as my dominant hand?
Rest your applying hand on a flat surface instead of working in mid-air. Press the nail down from the cuticle edge first, then rock toward the tip. Work slowly — speed is the main culprit for misaligned or uneven application on your non-dominant hand.
What do I do if a press-on nail doesn't match my C-curve?
If you have a flat nail bed, warm the press-on gently between your fingers for a few seconds before applying. This makes it slightly more pliable and helps it conform to your natural nail shape. Hold firm pressure for at least 60 seconds to set the bond while the nail is still warm.
Can I use a topcoat over press-on nails?
Yes — and we recommend it. A thin layer of clear topcoat applied over the entire nail, including the tip and the seam at the base, seals the edges, adds shine, and gives the whole manicure a more polished, unified look. It also adds a small amount of extra protection to the design.
Are Never Have I Ever press-on nails beginner-friendly?
Absolutely. Every kit comes with nail glue, adhesive tabs, a nail file, a cuticle stick, and an alcohol pad — everything you need to apply properly from the start. The nails are also reusable, so you get multiple chances to practice and perfect your technique with the same set.