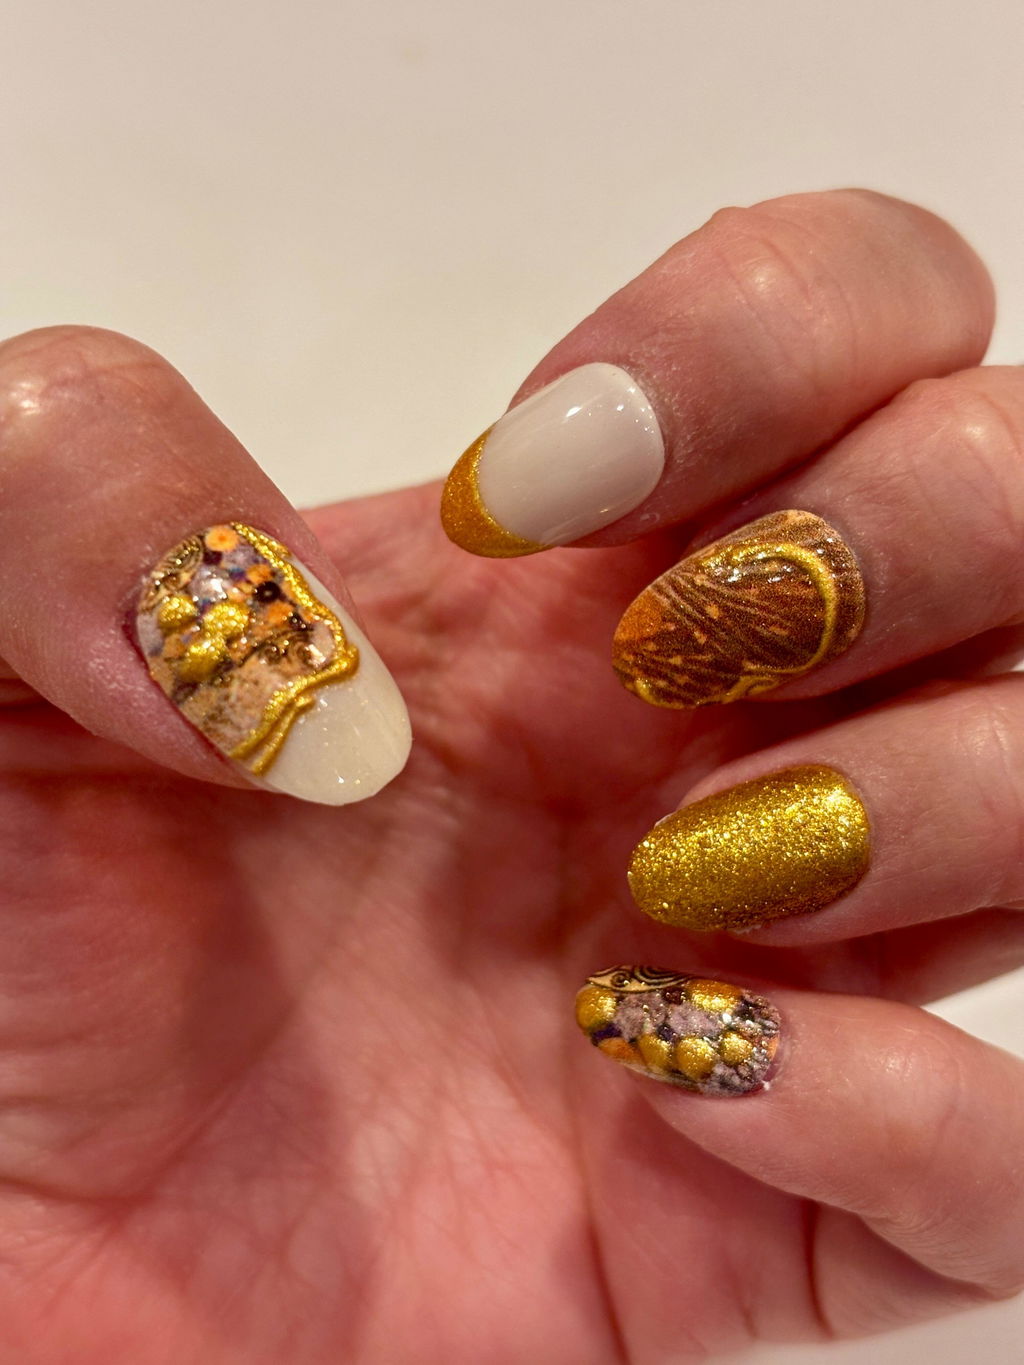
Nail Shape & C-Curve Compatibility: Your Complete Guide to Press-On Nails That Actually Fit
The Short Answer
Your natural nail's C-curve — the side-to-side arch across your nail plate — directly determines how well a press-on nail adheres and stays put. When the curve of your press-on matches your natural nail, you get a flush, salon-quality fit that lasts. When it doesn't, you get lifting, gaps, and early pop-offs.
If you've ever peeled a press-on off your finger after only a few days and wondered what went wrong, C-curve compatibility is almost always part of the answer. Let's break it all down.
What Is the C-Curve, Exactly?
Turn your hand sideways and look at one of your fingernails from the tip. Notice the arch? That gentle (or not-so-gentle) curve from one side edge to the other is your C-curve. It's named for the letter it resembles when viewed head-on.
C-curves exist on a spectrum:
- Flat C-curve: Little to no arch — the nail plate is nearly horizontal.
- Medium C-curve: A subtle, natural arch — the most common nail type.
- High C-curve: A pronounced, steep arch — sometimes called a "pinched" nail bed.
Most press-on nails are manufactured with a medium C-curve built in, which works beautifully for the majority of nail beds. But if your natural curve sits at either extreme, that mismatch is exactly why your press-ons keep lifting at the sides or sitting up off the nail plate like a tiny tent.
Why C-Curve Compatibility Matters More Than You Think
Adhesion is a contact sport. The more surface area your press-on nail has touching your natural nail, the stronger the bond — whether you're using nail glue or adhesive tabs. A press-on that arches higher than your nail bed will only make contact at the center, leaving the side edges floating. A press-on that's flatter than your nail will gap in the middle and grip only at the edges.
Both scenarios lead to the same frustrating outcome: lifting, catching on hair and clothes, and nails that pop off days before they should. The good news? Once you understand your C-curve, you can work with it instead of fighting it.
How to Identify Your C-Curve Type
You don't need any special tools — just good lighting and a mirror.
- Clean your nails and remove any polish so you're looking at your bare nail plate.
- Hold your hand at eye level with your fingers pointing toward you, and look at your nails straight on from the tip.
- Observe the arch. If your nail looks almost flat across, you have a low or flat C-curve. If it curves noticeably into a "C" shape, you have a medium to high C-curve.
- Check each finger separately. It's very common for your C-curve to vary between fingers — your pinky may be flatter than your ring finger, for example.
Take a quick photo from that angle for reference. It'll help enormously when you're sizing press-ons and troubleshooting fit.
Nail Shape vs. C-Curve: Understanding the Difference
These two terms get mixed up constantly, so let's clear it up:
- Nail shape refers to the silhouette of the nail when viewed from above — almond, square, coffin, stiletto, round, and so on.
- C-curve refers to the arch of the nail when viewed from the tip — it's about depth and curvature, not outline.
You can have a flat C-curve on an almond-shaped nail, or a high C-curve on a square nail. Both variables matter for press-on fit, but they affect different things. Nail shape determines the look and length you're going for. C-curve determines whether the press-on will actually bond to your nail bed properly.
Common Nail Shapes and How They Interact With C-Curve
Almond
Almond is one of the most flattering and universally wearable shapes — tapered sides with a rounded, slightly pointed tip. Because almond press-ons are narrower at the free edge, they tend to be more forgiving of C-curve variation than wider shapes like square or coffin. If you're new to press-ons or working with an unusual C-curve, almond is a great starting shape.

Square
Square nails have a flat free edge and straight sides, which means the press-on needs to sit flush across a wider surface. If you have a high C-curve, square press-ons are the trickiest fit — the corners tend to lift first. If you have a flat or medium C-curve, square shapes can look incredibly clean and polished.

Round
Round nails follow the natural curve of your fingertip and are one of the most beginner-friendly shapes. They're lower-stress on adhesion because the curved free edge reduces the leverage that causes lifting. If you have a high C-curve, rounded shapes are your friend.
Coffin / Ballerina
Coffin nails are long with a tapered, flat tip — dramatic and gorgeous, but they require a solid bond across a large surface area. A mismatched C-curve here means more leverage working against your adhesive. If you love this shape, prioritize nail prep and glue over tabs for the strongest hold.
Stiletto
Stiletto nails taper to a sharp point, which actually reduces the contact surface at the tip. The main adhesion zone is the base and mid-nail, so C-curve compatibility at the nail bed is critical. A poor fit at the base will mean the whole nail pivots and lifts.
What to Do If Your C-Curve Doesn't Match
For Flat C-Curves
If your nail bed is flat and your press-ons have a medium or high C-curve built in, the sides of the press-on will arch away from your nail. Here's how to handle it:
- Warm the press-on slightly before application. Holding it between your fingers for 30–60 seconds makes the material slightly more pliable and easier to press flush.
- Apply firm, sustained pressure from the center outward toward the edges when bonding, rather than just pressing down in the middle.
- Use nail glue over adhesive tabs — glue fills micro-gaps better than tabs do, which is key when your surface contact isn't perfect.
- Look for press-ons labeled "universal sizing" — some styles are designed to flex to your nail bed more readily.
For High C-Curves
A high or pinched C-curve means your nail arches more steeply than most press-ons are built to accommodate. The press-on may sit up at the center or gap at the sides.
- Size down slightly — a narrower press-on will conform to a high C-curve more naturally than one that spans the full width of your nail.
- File the inner curve of the press-on gently with a fine-grit file to increase its curvature and improve contact.
- Prioritize glue over tabs and apply glue to both the press-on and your natural nail for maximum coverage.
- Avoid very wide shapes like square or coffin until you've dialed in your fit — almond and round shapes adapt more easily to high C-curves.

Getting the Right Size: The Step Most People Skip
C-curve is only half the fit equation. Width sizing matters just as much — and it's the step that causes the most lifting issues across the board.
A press-on that's too wide will overlap your sidewalls and lift at the edges almost immediately. One that's too narrow will leave gaps and look unnatural. Here's a quick sizing approach that works:
- Lay the press-on flat over your nail without gluing it. It should cover your nail from sidewall to sidewall without touching your skin on either side.
- If it's slightly too wide, file the sides — not the free edge — until it sits cleanly within your natural nail boundary.
- Check all ten fingers before you start gluing. Your dominant and non-dominant hands are often slightly different sizes, so don't assume symmetry.
- When in doubt, size down rather than up. A slightly narrower nail is easier to work with than one that overlaps your skin.
Many shoppers wish press-on sets came with more size options per set. When you find a set you love, it's worth ordering two so you have extra sizes to mix and match across your fingers.
Nail Prep: The Real Secret to Long-Lasting Wear
Even a perfectly sized, C-curve-matched press-on will lift prematurely if your nail prep isn't on point. This is the most overlooked factor in press-on longevity — and it's entirely within your control.
- Remove all oil and moisture. Wipe each nail with the included alcohol pad (every Never Have I Ever kit comes with one) right before application. Don't touch your nails after this step.
- Push back your cuticles. Use the included cuticle stick to gently push back any cuticle or dead skin that's crept onto the nail plate. Glue won't bond to cuticle — only to nail.
- Buff lightly. A quick pass with a fine-grit file creates micro-texture on the nail surface that gives adhesive something to grip. Don't over-buff — you just want to remove the natural shine.
- Apply on dry nails. Avoid doing your nails right after a shower or washing your hands. Hydrated nails expand slightly and then contract as they dry, which can break the adhesive seal.
- Avoid water for at least an hour after application — ideally longer. The first few hours are when the bond is setting.
Glue vs. Adhesive Tabs: Which Is Right for Your C-Curve?
This is one of the most common questions, and the answer depends on your nail type:
- Adhesive tabs work best on flat to medium C-curves with good surface contact. They're gentler on your natural nails and great for short-term wear (events, weekends).
- Nail glue is the better choice for high C-curves, flat nail beds, or anyone who needs maximum longevity. Glue fills the micro-gaps that tabs can't bridge, creating a stronger bond even when the surface contact isn't perfect.
Every Never Have I Ever press-on kit includes nail glue and double-sided adhesive tabs, so you can choose the method that suits your nail type. For most people with C-curve compatibility issues, glue is the answer.

Making Press-Ons Reusable: Protecting Your Investment
Every set in the Never Have I Ever collection is designed to be reusable — which means the way you remove them matters as much as how you apply them. Forced removal damages both the press-on and your natural nail, and a damaged press-on won't conform to your C-curve as well the second time around.
- Soak in warm, soapy water for 10–15 minutes to loosen the adhesive before attempting removal.
- Use the cuticle stick to gently work under the free edge — never force or peel from the sides.
- Clean residual glue from the press-on with a cotton pad and acetone before storing.
- Store flat in the original tray to preserve the C-curve shape of the press-on for future applications.
Quick-Reference: C-Curve Compatibility Chart
- Flat C-curve + almond shape: Great match — warm press-on before applying, use glue.
- Flat C-curve + square shape: Good match — ensure width is exact, press firmly at edges.
- Medium C-curve + any shape: Best compatibility — standard application works well.
- High C-curve + almond or round shape: Good match — size down slightly, use glue.
- High C-curve + square or coffin shape: Challenging — file inner curve of press-on, use glue, apply extra pressure at sides.
Shop the Collection
Now that you know your C-curve type and the shapes that work best for it, the fun part begins — picking your design. All of our press-on sets are beginner-friendly, come with everything you need in the kit, and are built to be worn again and again.

Explore our full range of artist-designed press-on nails — from bold collaborations to classic everyday styles — and find the shape and size that fits your nail bed perfectly.
Frequently Asked Questions
What is a C-curve on a nail?
The C-curve is the side-to-side arch of your nail plate when viewed from the tip of your finger. It can range from flat (little to no arch) to high (a pronounced, steep curve). It determines how well a press-on nail will conform to and adhere to your natural nail.
Why do my press-on nails keep lifting at the sides?
Side lifting is almost always caused by one of three things: a C-curve mismatch between your natural nail and the press-on, a press-on that's slightly too wide and overlapping your sidewalls, or insufficient nail prep (oil, moisture, or cuticle on the nail plate). Address all three and lifting drops dramatically.
Can I file a press-on nail to change its C-curve?
Yes — gently filing the inner surface of a press-on with a fine-grit file can increase its curvature to better match a high C-curve nail bed. Go slowly and test the fit frequently so you don't remove too much material.
Is almond the best nail shape for C-curve compatibility?
Almond is one of the most forgiving shapes for a range of C-curves because its tapered sides reduce the surface area that needs to conform to your nail bed. It's a great starting point if you're unsure of your C-curve type or have had fit issues with other shapes.
Should I use nail glue or adhesive tabs if I have a flat nail bed?
Nail glue is generally the better choice for flat nail beds, because it fills the micro-gaps created by a C-curve mismatch better than adhesive tabs can. Tabs work best when surface contact between the press-on and your nail is near-perfect.
How do I know what size press-on nail to use?
Lay the press-on over your nail without gluing it — it should cover your nail plate from sidewall to sidewall without touching your skin. If it's slightly too wide, file the sides (not the free edge) until it fits within your natural nail boundary. When in doubt, size down rather than up.
Do Never Have I Ever press-ons work on unusual nail shapes?
Yes. Our almond press-ons in particular are designed to be comfortable and lightweight, and every kit includes both nail glue and adhesive tabs so you can choose the adhesion method that works best for your nail type. The included cuticle stick and alcohol pad help you prep properly for a better fit regardless of your C-curve.