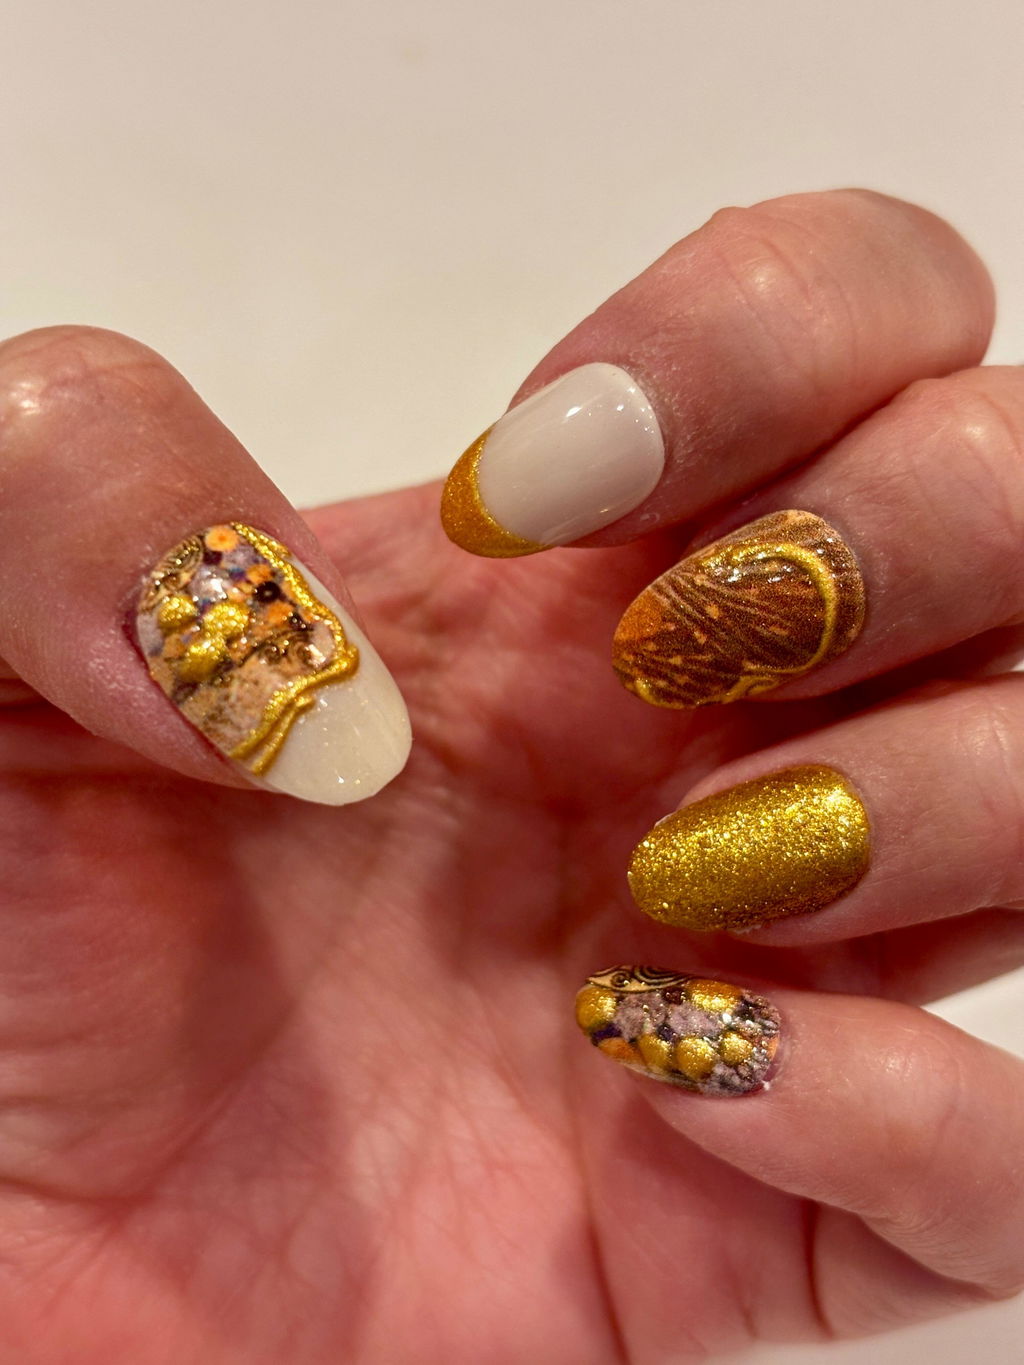
How to Make Press-On Nails Last Longer: Your Guide to Stronger, Longer-Lasting Adhesion
The Short Answer
Press-on nails last longest — up to 1–2 weeks — when your nail beds are clean and oil-free, the size fits flush to every edge, and you use a strong brush-on nail glue with proper curing time before touching anything.
If your press-ons have been lifting after just a few days, you're not alone and you're definitely not doing it wrong. It's one of the most common frustrations in the entire press-on category. The good news? A few small changes to your prep routine and adhesive approach make a genuinely dramatic difference. Here's exactly what to do.
And if you'd rather skip adhesive altogether, these nail sticker designs that sit over polish without lifting are a low-commitment way to get the same finished look.
For even more troubleshooting tips, see our guide on why your press-on nails keep falling off.
Why Press-Ons Lift Prematurely (And What's Actually Causing It)
Before we get into the fix, it helps to understand the problem. Press-on nails lift early for a handful of very specific reasons:
- Oil and moisture on the nail bed. Natural oils, lotion residue, and even the oils transferred from handling the press-ons before application all break down adhesive bonds fast.
- Poor fit at the edges. If a nail doesn't sit flush — especially along the sides or near the cuticle — air gets underneath and the lifting process starts almost immediately.
- Not enough cure time. Pressing a nail on for 10 seconds and moving on doesn't give the glue enough time to bond fully. Rushing this step is the single most common mistake.
- Skipping the prep steps. Filing, buffing, and dehydrating the nail surface aren't optional extras — they're the foundation the adhesive needs to grip.
The great news is that every single one of these is fixable. Let's go step by step.
Step 1: Nail Prep Is Everything
Think of nail prep the way a painter thinks about priming a wall. Skip it and nothing sticks the way it should.
Push Back and Trim Your Cuticles
Use the cuticle stick included in your Never Have I Ever kit to gently push back the cuticle before you apply anything. Any cuticle sitting on the nail plate creates a gap between the press-on and your natural nail — and gaps mean lifting.
Buff the Surface Lightly
A quick, light buff with the nail file in your kit removes the shiny top layer of your natural nail. That shine is a smooth, slightly waxy surface that adhesive struggles to grip. After buffing, you want a slightly matte, textured surface — this gives the glue something to hold onto.
Cleanse with the Alcohol Pad
This is the step most people skip and the one that matters most for longevity. Wipe each nail thoroughly with the alcohol pad included in your kit. This removes oils, dust from buffing, and any invisible residue. Let it dry completely — about 30 seconds — before moving on. If you have naturally oily nail beds, do two passes.
Pro tip: Avoid applying lotion or washing your hands for at least an hour before you start. Even trace amounts of moisture will compromise the bond.
Step 2: Get the Fit Right Before You Glue Anything
This is the step that separates a manicure that lasts three days from one that lasts two weeks. Before applying any adhesive, do a dry fit of every single nail.
How to Dry Fit Your Nails
- Hold each press-on against your natural nail without glue.
- Check that the side edges align with your natural nail edges — not overlapping your skin, not leaving gaps.
- Check that the base of the press-on sits right at (not on top of) your cuticle line.
- If a nail is slightly too wide, use the nail file to gently file the sides down in small increments. File from the edge toward the center, not back and forth.
A flush fit is non-negotiable. Even a tiny gap at the edge is an entry point for water and lifting. Take the extra five minutes here — it pays off every time.
A Note on C-Curve and Flat Nail Beds
If your natural nails are very flat or have an unusually deep curve, standard press-on shapes may not conform perfectly. In this case, slightly warming the press-on between your fingers for a few seconds can make it more pliable and easier to press into shape against your nail bed. Apply firm, even pressure from the center outward when bonding.

Step 3: Choose the Right Adhesive and Use It Correctly
This is where most of the "why won't mine stay on?" questions get answered.
Nail Glue vs. Adhesive Tabs: Know the Difference
Every Never Have I Ever kit comes with both nail glue and double-sided adhesive tabs. Here's how to think about them:
- Adhesive tabs are great for short-term wear — events, nights out, occasions where you want to swap designs in a day or two. They're also gentler on your natural nails and make reuse easier.
- Nail glue is your go-to for maximum longevity. When applied correctly, brush-on nail glue creates a significantly stronger bond and is the right choice when you want your press-ons to last through a full week of daily life.
How to Apply Nail Glue for Maximum Hold
- Apply a thin, even layer of glue to your natural nail — not a thick blob. Thin layers bond better and are less likely to create air pockets.
- Optionally, apply a tiny dot of glue to the inside of the press-on as well (dual application increases hold significantly).
- Place the press-on at the cuticle edge first, then press down and forward toward the tip.
- Apply firm, consistent pressure for a full 30–60 seconds. Use your thumb to press down on the nail surface while your index finger supports from underneath.
- Do not release and re-press. Once contact is made, hold steady.
After applying all ten nails, avoid water, washing dishes, or any activity that exposes your hands to moisture for at least one to two hours. The glue continues to cure and strengthen during this window.

Step 4: Daily Habits That Protect Your Bond
Getting a strong initial bond is half the battle. Keeping it strong through daily life is the other half.
Wear Gloves for Wet Work
Water is the number one enemy of press-on adhesive. Prolonged soaking — doing dishes, long showers, swimming — weakens the bond over time. Keep a pair of rubber gloves near the sink and use them when washing up. It sounds like a small thing, but it genuinely extends wear by days.
Avoid Oil-Based Products Near Your Nails
Cuticle oils, hand creams, and oil-based cleansers can seep under the nail edge and break down the adhesive. If you use hand cream, apply it to your palms and the backs of your hands rather than massaging it into your cuticle area.
Be Mindful of How You Use Your Hands
Press-on nails are not designed for prying open cans, pulling up ring pulls, or using your nails as tools. Use the pads of your fingers instead. This isn't about being precious — it's just about not applying lateral force to a bond that's designed to hold under downward pressure.

Step 5: Reapplying and Reusing Your Press-Ons
One of the things that makes Never Have I Ever press-ons genuinely different is that they're designed to be reusable. When you remove them properly and store them well, you can get multiple wears out of a single set — which means the adhesive approach you use matters for future applications too.
How to Remove Press-Ons Without Damage
- Soak your nails in warm, soapy water for 10–15 minutes to soften the adhesive.
- Gently wiggle the press-on from side to side — never pull straight up.
- If there's resistance, soak longer. Forcing removal damages both the press-on and your natural nail.
Prepping for Reuse
After removal, clean any glue residue from the inside of the press-on using the cuticle stick or a gentle nail file. Store them in their original tray or a small container to keep them dust-free and undamaged. When you're ready to reapply, start the prep process from scratch — fresh alcohol wipe, fresh glue, fresh fit check.

Quick-Reference: The Long-Lasting Press-On Checklist
- ✅ Push back cuticles before starting
- ✅ Buff the nail surface to a matte finish
- ✅ Wipe with alcohol pad and let dry fully
- ✅ Dry fit every nail before gluing
- ✅ File any nails that don't sit flush at the edges
- ✅ Apply thin, even layer of nail glue to both surfaces
- ✅ Press and hold for 30–60 seconds per nail
- ✅ Avoid water for 1–2 hours after application
- ✅ Wear gloves for dishes and prolonged water exposure
- ✅ Keep oils and creams away from the nail edge
Shop the Sets Worth Making Last
All of this prep work is a lot more satisfying when the design on your nails is genuinely worth protecting. Here are a few current favorites:


Frequently Asked Questions
How long should Never Have I Ever press-on nails last?
With proper prep and nail glue application, you can expect 1–2 weeks of wear. Using adhesive tabs instead of glue typically gives you 1–3 days, which is perfect for short-term or event wear.
What's the difference between nail glue and adhesive tabs for press-ons?
Nail glue creates a stronger, longer-lasting bond and is best for extended wear. Adhesive tabs are gentler, easier to remove, and better for reusability — ideal when you want to swap designs frequently.
Why do my press-on nails keep lifting at the edges?
Edge lifting is almost always caused by one of three things: oil or moisture on the nail bed before application, a size that doesn't sit flush at the sides, or insufficient pressure during bonding. Go through the prep checklist above and pay particular attention to the dry-fit step.
Can I use extra nail glue to fix a lifting press-on?
Yes — if a nail starts to lift slightly, you can carefully apply a small amount of nail glue under the lifted edge and press firmly for 30–60 seconds. Do this as soon as you notice lifting rather than waiting, as the gap will only widen over time.
How do I know which size press-on to use?
Always do a dry fit before applying any adhesive. The press-on should cover your natural nail from edge to edge without overlapping your skin. If you're between sizes, go smaller and file to fit — a nail that's slightly too wide will lift much faster than one that's been filed to a precise fit.
Will press-on nails damage my natural nails?
When removed correctly — by soaking in warm water and gently wiggling rather than pulling — press-on nails cause minimal damage to natural nails. Forcing removal is the main cause of nail damage, so patience during the removal process is key.
Are Never Have I Ever press-ons reusable?
Yes — all Never Have I Ever press-on nail sets are designed to be reused. Remove them carefully, clean off any glue residue, store them properly, and they're ready for another round with fresh prep and adhesive.