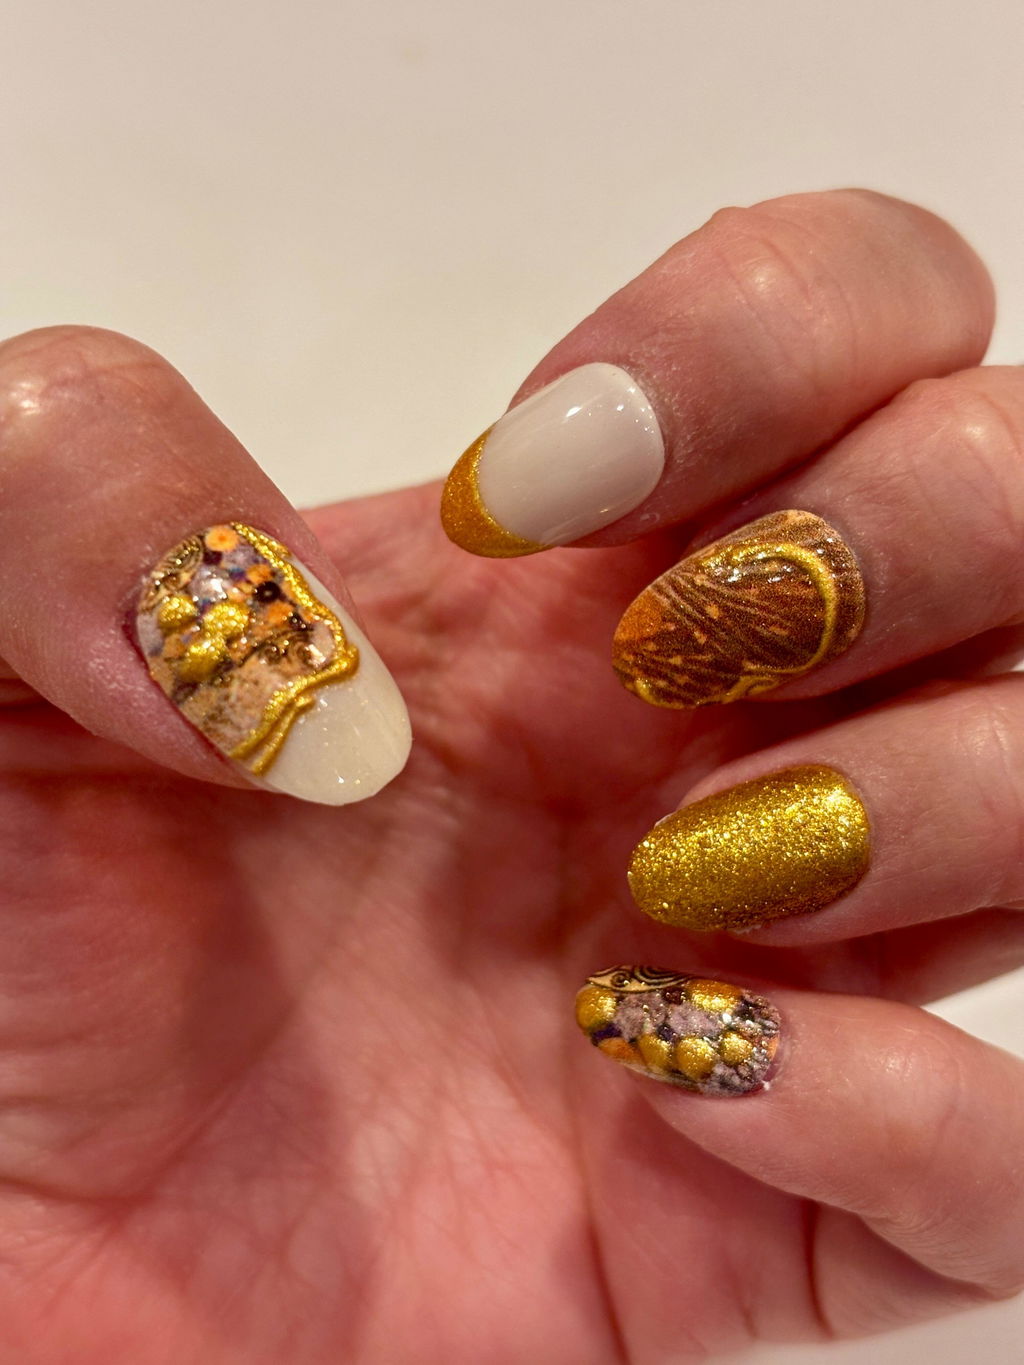
Why Your Press-On Nails Keep Falling Off (And How to Fix It for Good)
Press-on nails fall off early almost always because of one (or more) of three fixable mistakes: skipping proper nail prep, choosing the wrong size, or relying on weak adhesive. Nail down all three and you can realistically wear your press-ons for a week or more — without a single edge catching on your hair.
If weak adhesive is the culprit, our guide to making press-on nails last up to two weeks with stronger adhesive breaks down exactly which glues hold and how to apply them.
We hear this one a lot. You follow every step on the box, and by day four one nail is already doing its own thing. It's genuinely frustrating, especially when the design is this good. The great news? The culprits are almost always the same, and every single one is fixable. Here's the full breakdown.
The Real Reasons Press-On Nails Don't Last
1. Your Nail Bed Wasn't Fully Prepped
This is the number-one reason press-ons lift early, and it's the easiest to overlook. Any oil, moisture, or product residue left on your natural nail acts like a barrier between the adhesive and your nail plate — and adhesive always loses that battle eventually.
- Wash your hands thoroughly and let them dry completely before starting.
- Gently buff the surface of each nail with the included nail file. You're not trying to thin your nails — just lightly scuff the shine so adhesive has something to grip.
- Swipe each nail with the alcohol pad included in your kit. Let it evaporate fully before moving on. Don't touch your nail bed after this step.
- Push back your cuticles with the cuticle stick. Any cuticle overlapping the nail plate will cause the press-on to sit unevenly and lift from the base.
If your nails naturally run oily, do a second alcohol wipe. It makes a noticeable difference.
2. The Size Isn't Quite Right
A press-on that's even slightly too wide will bow up at the edges instead of lying flush — and once air gets under there, it's only a matter of time. A nail that's too narrow leaves gaps at the sides where moisture can creep in.
If you're tired of guessing, our press-on nail sizing and customization guide walks you through getting a perfect fit every time.
Most sets include more nails than you need precisely so you can find the best match for each finger. Take the time to do a dry fit before you apply any glue. The nail should sit edge-to-edge across your nail plate without overlapping your skin on either side. If it's close but not perfect, use your nail file to gently file the sides of the press-on — not your natural nail — until it sits flush.
If you have a notably flat C-curve (the natural arch across the width of your nail), press the nail firmly into the center first and hold for a full 30–60 seconds, working outward. This helps the press-on conform to your nail shape rather than bridging over it.
For an in-depth breakdown of how your natural arch affects wear, explore our guide on nail shape and C-curve compatibility.

3. You're Using the Adhesive Tabs When You Need Nail Glue
Adhesive tabs are genuinely useful — they're gentle on your natural nails, make removal a breeze, and are great for short-term wear like a weekend event. But if you want 7–10 days of wear, nail glue is the move.
For more on getting the strongest hold from your glue, see our guide to making press-on nails last longer.
When using nail glue:
- Apply a thin layer to your natural nail, not the press-on. Less is more — a thick glob of glue is actually weaker because it doesn't cure evenly.
- Press the nail down at a slight angle from the cuticle edge, then press flat and hold for 30–60 seconds with firm, even pressure.
- Avoid getting water on your nails for at least an hour after application. The first hour is when the bond is setting.
Our kits come with nail glue and double-sided adhesive tabs so you can choose the hold level that fits your plans.
The Prep Routine That Actually Works
Think of nail prep the same way you'd think about skincare: the steps you take before the product goes on matter just as much as the product itself. Here's the exact order to follow every time.
- Remove any old polish or product completely. Residue from old gel or acrylics is a major adhesion killer.
- Wash hands with soap and water. Dry thoroughly.
- Buff each nail lightly with the fine side of your nail file to remove surface shine.
- Push back cuticles with the cuticle stick.
- Wipe each nail with the alcohol pad and let it dry completely — 30 seconds minimum.
- Do your dry fit: lay each press-on against its nail, no glue yet, and confirm the size. File the press-on sides if needed.
- Apply glue and press, holding for a full 30–60 seconds per nail.
- Avoid water, soap, and dish duty for at least one hour.

How to Make Press-Ons Last Even Longer Day-to-Day
Application is only half the equation. What you do after matters too.
Protect the Edges
The edges and tip of a press-on are the most vulnerable points. Avoid using your nails as tools — no prying open cans, peeling stickers, or picking at things. It sounds obvious, but it's the single most common reason a nail that was applied perfectly still lifts by day five.
Keep Moisture Away From the Base
Water is adhesive's nemesis. Wear gloves when doing dishes or cleaning with products. After washing your hands, pat (don't rub) them dry and make sure you dry around the edges of each nail.
Skip the Cuticle Oil (For Now)
Cuticle oil is great for nail health, but applying it near the base of your press-ons can work its way under the nail and weaken the bond. Save it for after you remove your set.
Press Down Any Early Lifters Immediately
If you notice an edge starting to lift, don't ignore it. Apply a tiny drop of nail glue under the lifted edge, press firmly for 30 seconds, and let it set. Catching it early means you won't lose the whole nail.

Getting a Salon-Quality Finish at Home
One of the most common frustrations is that the non-dominant hand never looks quite as good. A few tricks help close that gap.
Work Slowly on Your Non-Dominant Hand
Give yourself more time on whichever hand is harder. Apply one nail, hold it, let it set for a full minute before moving to the next. Rushing is where alignment goes wrong.
File After Application
Once all nails are on and fully set, use your nail file to gently smooth any edges that aren't perfectly flush. This removes the slight ridge that can catch on hair or fabric and makes the whole look feel more seamless.
Check Your Angle
When pressing down, start at the cuticle line and rock forward toward the tip rather than pressing straight down from above. This pushes out any air bubbles and helps the nail sit flush from base to tip.

The Reusability Advantage
Here's something worth knowing: our press-ons are designed to be reusable. That means when you do eventually remove them — soak in warm water until the adhesive releases, never force or peel — you can clean them up, store them, and wear them again.
Getting your application technique right the first time isn't just about this wear. It's about protecting the nail so it's in perfect condition for round two (and three, and four). The better you get at prep and application, the more value you get out of every set.
Shop the Sets Worth Perfecting Your Technique For
Once you've got the process down, the only question is which design to reach for first. A few current favorites:
- FAIRY WING Almond Press-On Nails — soft iridescence and dreamy tones, perfect for everyday wear.
- CAT COLLAGE Almond Press-On Nails — whimsical crimson, sage, and blue with beret-wearing cats.
- VAN GOGH SUNFLOWERS Almond Press-On Nails — wearable art inspired by the iconic painting.
- FRENCH LEOPARD French Tip Press-On Nails — a chic twist on the classic French manicure.
- Miffy Dream Bundle — soft pastels and playful Miffy accents in one set.
Frequently Asked Questions
How long should press-on nails actually last?
With proper prep and nail glue, press-on nails can last 7–14 days. With adhesive tabs, expect 3–5 days. The biggest variables are nail prep quality, how much water exposure your hands get, and whether the fit was correct before application.
Why do my press-on nails keep lifting at the edges?
Edge lifting almost always comes down to one of three things: oil or moisture left on the nail before application, a size that's slightly too wide (causing the edges to bow up), or cuticle skin overlapping the nail plate where the press-on sits. Fix your prep routine and do a careful dry fit before applying glue.
Should I use nail glue or adhesive tabs?
Use adhesive tabs for short-term wear (a night out, a weekend event) when you want easy, damage-free removal. Use nail glue when you want maximum hold for a full week or more. Both options are included in our kits so you can choose based on your plans.
Can I file press-on nails to make them fit better?
Yes — and you should. File the sides of the press-on (not your natural nail) until it sits edge-to-edge across your nail plate without overlapping your skin. This is one of the most effective ways to improve both fit and longevity.
How do I remove press-on nails without damaging them for reuse?
Soak your fingertips in warm water for 10–15 minutes until the adhesive softens, then gently slide the press-on off from the side. Never force or peel — that's what damages both the press-on and your natural nail. Once removed, clean off any adhesive residue and store flat for next time.
Do press-on nails work on flat nail beds?
They can, with a little extra technique. If your nails have a flatter C-curve than average, press the center of the nail down first and hold firmly for a full 60 seconds before working toward the edges. This helps the press-on conform to your nail shape rather than sitting above it and creating gaps.
Why does my non-dominant hand always look worse?
Mostly speed and angle. Slow down on your non-dominant hand, apply one nail at a time, and let each one set for a full minute before moving on. After all nails are applied, use your file to smooth any uneven edges — this single step dramatically improves the overall finish.