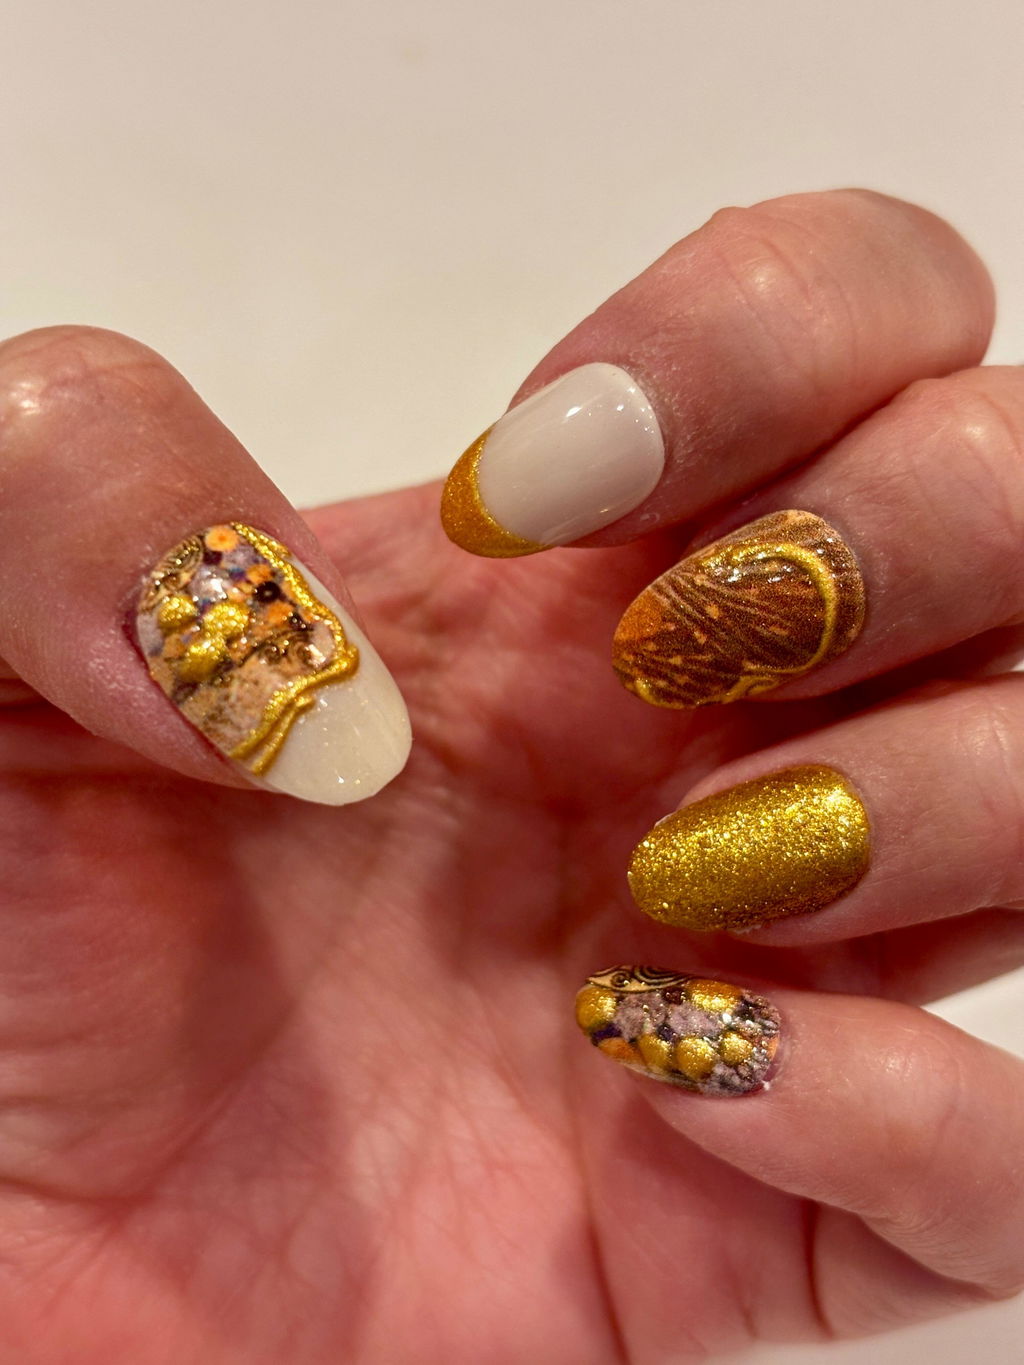
How to Get the Perfect Press-On Nail Fit: Your Complete Sizing & Customization Guide
The secret to press-on nails that look salon-done and actually stay on? It's almost entirely about fit. Get your sizing right, prep your nail beds properly, and choose the right adhesive — and your press-ons will look seamless, feel comfortable, and last all week long.
If you're aiming for that salon-quality finish from start to finish, our at-home press-on manicure guide walks you through every step.
If you've ever dealt with a press-on that lifts at the edges, gaps at the sides, or just never looks quite right on your non-dominant hand, you're not alone. Fit and sizing are the number-one reason press-ons underperform — and the good news is, every single one of those problems is fixable. Here's everything you need to know.
For a deeper dive into the specific causes of lifting and how to get a perfect fit every time, see our guide to why press-on nails lift and how to fix it.
Why Fit Is Everything With Press-On Nails
Press-on nails work by creating a bond between the press-on and your natural nail. When that bond is compromised — because there's a gap, an air pocket, or the nail is slightly too wide or narrow — moisture and debris sneak underneath, and lifting begins. It's not a glue problem. It's a fit problem.
Most people reach for the size that looks closest and move on. But even a millimeter of overhang or a slight mismatch in the C-curve (the natural arch across your nail) can mean the difference between nails that last four days and nails that last ten. Taking an extra five minutes on sizing genuinely changes everything.
Step 1: Measure Your Nails Properly
Before you even open your press-on kit, grab a flexible tape measure or a piece of paper and a ruler. Measure the width of each nail at its widest point — that's usually just above the cuticle line. Write down all ten measurements. You'll likely find you're not a single consistent size across your hand, and that's completely normal.
Tips for accurate nail measurement:
- Measure width, not length — press-on sizing is based on width across the nail bed.
- Measure at the widest point, which sits just above where your cuticle ends.
- Your dominant hand nails are often slightly wider than your non-dominant hand.
- If you're between two sizes, always size down — a slightly narrower nail looks cleaner and lifts less than one that's even slightly too wide.
Step 2: Understand Your Nail Bed Shape
Nail beds aren't flat — they curve across the width, and that curve (called the C-curve) varies from person to person. Standard press-on shapes work well for moderate C-curves, but if your nails are very flat or very curved, you'll want to pay extra attention to this step.
For a deeper look at how your C-curve interacts with different nail shapes, our nail shape & C-curve compatibility guide breaks it all down.
Flat nail beds:
If your nails are quite flat, a press-on with a pronounced C-curve will arch away from the center of your nail, creating a gap that lifts almost immediately. The fix: gently warm the press-on between your fingers for a few seconds before application to make it slightly more pliable, then press firmly from the center outward to encourage it to conform to your nail shape.
Highly curved nail beds:
If your nails have a very pronounced natural curve, the edges of a flatter press-on will lift. Look for sets that feel slightly flexible rather than rigid, and apply firm, even pressure for a full 30–60 seconds after placement.

Step 3: Sort Your Sizes Before You Start
Every Never Have I Ever press-on set comes with more nails than you have fingers — intentionally. That extra variety means you can mix and match sizes to find the best fit for each individual nail rather than forcing a single size to work across your whole hand.
Before applying anything, lay out all the nails and do a dry fit: hold each one against your nail without glue to check that it covers the nail bed edge to edge without overlapping onto your skin. If it overlaps your skin at the sides, go down a size. If there's a visible gap on either side, go up a size.
The dry fit checklist:
- ✓ Nail covers the full width of your nail bed
- ✓ No overlap onto the skin at the sides
- ✓ Sits flush against the cuticle without lifting at the base
- ✓ C-curve matches your natural nail arch reasonably well

Step 4: File for a Custom Fit (When You Need To)
Filing isn't a sign that something went wrong — it's a normal part of getting a truly custom fit. If a press-on is very slightly too wide, use the nail file included in your kit to gently file the sides of the press-on (not your natural nail) until it sits perfectly. File in one direction, in short strokes, checking the fit frequently.
You can also file the free edge of the press-on to adjust the length before application, which is much easier than filing after the nail is glued on. Shape it to your preferred length while it's still loose, then apply.
What not to do:
- Don't file aggressively — you can thin the press-on and weaken it.
- Don't file your natural nail to fit the press-on — prep your natural nail, but don't reshape it.
- Don't skip the dry fit and go straight to glue — you'll end up repositioning with wet glue, which weakens the bond.
Step 5: Nail Prep Is Non-Negotiable
Even the most perfectly sized press-on will lift prematurely if it's applied to an unprepared nail bed. This is one of the most overlooked steps — and one of the highest-impact ones.
The prep routine that actually works:
- Remove any existing polish or residue completely. Any old product creates a barrier between the press-on and your nail.
- Gently buff the surface of your natural nail with the fine side of your nail file to create a slightly rough texture. This gives the adhesive something to grip.
- Push back your cuticles with the cuticle stick included in your kit. Press-ons applied over cuticle skin lift almost immediately.
- Wipe each nail with the alcohol pad from your kit. This removes oils, moisture, and any buffing dust. Oily nail beds are a leading cause of early lifting — the alcohol wipe is essential, not optional.
- Let your nails dry completely before applying any adhesive. Even a few seconds of residual moisture matters.

Step 6: Choose the Right Adhesive for Your Lifestyle
The adhesive method you choose has a huge impact on both how long your press-ons last and how easy they are to remove for reuse. Every Never Have I Ever kit comes with both nail glue and double-sided adhesive tabs, so you have options depending on the occasion.
Nail glue: for maximum longevity
Nail glue creates the strongest bond and is the best choice when you want your press-ons to last a full week or more. Apply a thin, even layer to the press-on (not your natural nail), wait five seconds for it to become slightly tacky, then press firmly onto your nail for 30–60 seconds. Less glue, applied evenly, outperforms a thick blob every time — excess glue creates air pockets rather than filling them.
Adhesive tabs: for flexibility and reusability
The double-sided glue sticker tabs included in kits like the Miffy Dream Bundle are ideal when you want to wear a set for a few days and then swap to something new. They're gentler on your natural nail and make removal easy, which is especially important if you're rotating through multiple designs. Expect 3–5 days of wear with tabs versus 7–10 days with glue.
Pro tip for oily nail beds:
If your nails tend to be naturally oily (a common reason for early lifting), double down on the alcohol prep step and consider applying a very thin layer of nail glue even when using adhesive tabs — apply the tab first, then a tiny dot of glue at the cuticle edge where lifting typically starts first.

Getting a Seamless, Salon-Quality Finish at Home
The gap between a DIY press-on look and a salon manicure usually comes down to three things: fit (covered above), cuticle placement, and finishing. Once your nails are on, here's how to get that clean, polished result.
Cuticle placement:
Position the press-on as close to your cuticle as possible without touching it. A gap between the press-on and your cuticle is the number-one tell of a DIY application. Take your time placing each nail — you have a few seconds before the glue sets.
Finishing touches:
- Run your fingertip along the edges of each nail after application to check for any lifting — press down firmly on any edge that isn't fully flush.
- Avoid water for at least one hour after application to let the adhesive cure fully.
- Apply a thin layer of clear topcoat over the seam where the press-on meets your natural nail to seal the edge and extend wear.
- When your nails catch on hair or fabric, it usually means an edge has started to lift — address it immediately with a tiny drop of glue rather than waiting.
Shapes, Sizes & What Works for Different Nail Types
Never Have I Ever offers press-ons in almond, square, and short almond shapes, which suit different nail bed proportions and personal style preferences. Here's a quick guide:
Almond shape:
The most universally flattering shape — the tapered tip makes fingers look longer and slender, and the shape works well for both narrow and wider nail beds. Most of our artist-collaboration sets, including the Swirls of Snoopy and Cherry Cola sets, come in almond.
Square shape:
Square press-ons suit wider nail beds and create a bold, graphic look. Sets like Burgundy Cherub use a square French tip format that works especially well for nail beds that are wider than they are long.
Short almond:
If you prefer a more natural length that doesn't interfere with daily tasks, short almond shapes like Zebratini offer the elegance of the almond silhouette with a more practical length — and they tend to lift less at the tips because there's less leverage.
Universal Sizing: The Handmade Difference
Some of our handmade artist sets — like Líwǔ 璃舞 by Dawang — come with 20 nails and universal sizing designed to fit small, medium, and large nail beds. These sets are a great starting point if you're still figuring out your sizing, because the extra nails and flexible sizing mean you're more likely to find a great fit straight out of the box without any filing.
Making Your Press-Ons Reusable: Sizing for the Long Game
One of the best things about Never Have I Ever press-ons is that they're designed to be reused — apply them again and again with proper care. Getting the fit right the first time protects the nail so it can be reapplied cleanly.
For reuse, keep these habits:
- Remove press-ons by soaking in warm, soapy water rather than forcing them off — forcing damages both the press-on and your natural nail.
- Store removed press-ons in their original tray or a small container to keep them from warping.
- Clean off any adhesive residue gently before reapplying.
- Re-buff and alcohol-wipe your natural nails before each new application, even if they look clean.

Quick Reference: Sizing & Fit Cheat Sheet
- Always size down if you're between sizes — too narrow looks cleaner than too wide.
- Do a dry fit for every single nail before you open the glue.
- Alcohol wipe is the most skipped and most important prep step.
- Press for 30–60 seconds — not five seconds, not ten. Thirty to sixty.
- Seal the edge with topcoat after application for extra longevity.
- Avoid water for one hour after application.
- File the press-on, not your nail — and file before applying, not after.
Frequently Asked Questions
How do I know what size press-on nails to order?
Measure the width of each nail at its widest point (just above the cuticle) with a flexible tape measure or ruler. Most Never Have I Ever sets include multiple sizes per set, so you can mix and match to find the best fit for each individual finger rather than relying on a single size for your whole hand.
Why do my press-on nails keep lifting at the edges?
Edge lifting is almost always caused by one of three things: the nail is slightly too wide and overlapping onto skin, the nail bed wasn't fully degreased before application (skip the alcohol wipe and you'll see lifting within a day), or the C-curve of the press-on doesn't match your natural nail arch. Address all three and lifting becomes rare.
Can I file press-on nails to make them fit better?
Yes — and you should if needed. File the sides of the press-on (not your natural nail) to adjust the width, and file the free edge to adjust the length before applying. Short, gentle strokes work better than aggressive filing. Always do a dry fit after filing to check the result before applying adhesive.
How long should press-on nails last?
With proper prep and nail glue, well-fitted press-ons typically last 7–10 days. With adhesive tabs, expect 3–5 days. The biggest factors in longevity are nail prep (especially the alcohol wipe step), how well the size fits, and avoiding prolonged water exposure in the first 24 hours after application.
What's the difference between nail glue and adhesive tabs for press-ons?
Nail glue creates a stronger, longer-lasting bond — ideal for a week-long wear. Adhesive tabs are gentler on your natural nail and easier to remove, making them better for short-term wear or when you want to rotate designs frequently. Both options are included in Never Have I Ever press-on kits.
Do press-on nails work on flat nail beds?
Yes, with a small adjustment. If your nail beds are quite flat, gently warm the press-on between your fingers before application to make it slightly more pliable, then press firmly from the center outward to help it conform to your nail shape. This reduces the gap that causes lifting on flat nail beds.
How do I make press-on nails look more natural and salon-quality?
The biggest factors are: placing the press-on as close to the cuticle as possible without touching it, choosing the right size so there's no gap at the sides, and sealing the edge where the press-on meets your natural nail with a thin layer of clear topcoat. Taking your time on placement — especially on your non-dominant hand — makes a significant difference.