Why Your Press-On Nails Lift (And How to Fix It for Good)
The Real Reason Your Press-Ons Keep Lifting — And How to Stop It
Press-on nails lift for one of three reasons: the size isn't quite right, the nail bed wasn't prepped properly, or the adhesive wasn't given enough time to bond. Fix those three things, and you're looking at a week-plus of wear that actually holds up.
We hear it constantly — you pick a gorgeous set, follow the steps, and by day three an edge is already catching on your hair. It's one of the most common frustrations in the press-on world, and honestly? It's almost always fixable. This guide walks you through everything: sizing, nail prep, adhesive choice, and a few tricks for tricky nail shapes. Let's get into it.
Step 1 — Nail the Fit Before You Apply Anything
Poor fit is the number-one reason press-ons lift. If there's even a small gap at the sides or the nail extends past your natural nail edge, moisture and air will sneak underneath and start the lifting process almost immediately.
How to Size Correctly
- Lay out all sizes before you start. Hold each press-on over your natural nail and look for full coverage from sidewall to sidewall — no gaps, no overhang.
- When in between sizes, go smaller. A slightly snug fit that you file out is always better than a nail that hangs over your skin.
- File the sides, not the surface. Use the fine side of your nail file to gently taper the edges of the press-on until it sits flush. This takes maybe 30 seconds per nail and makes a huge difference.
- Check the C-curve. If your nail beds are flatter or more curved than average, the press-on may arch away from your nail at the center. Gently warm the press-on between your fingers for a few seconds before applying — it makes the material slightly more pliable and helps it conform to your natural curve.
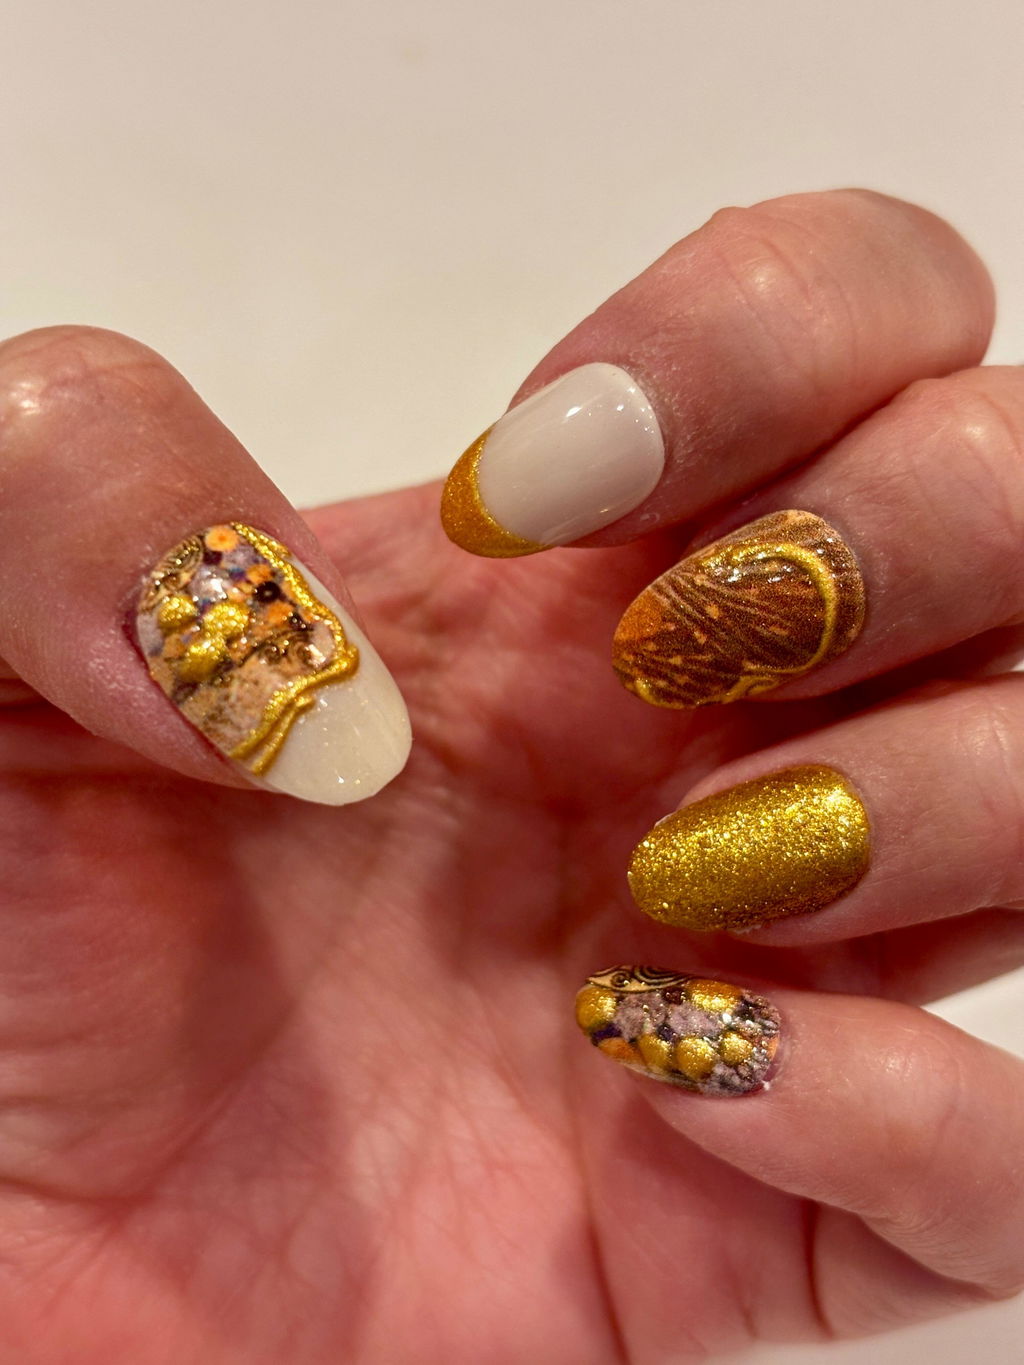
Many of our sets — including handmade styles like Ochre Bunshine by Lily Hoang-Zhu — come with 20 nails specifically so you have more size options to work with. Use that to your advantage.

Step 2 — Prep Your Nail Bed Like You Mean It
This is the step most people rush, and it's where wear time is won or lost. Your natural nail needs to be clean, dry, and completely free of oils before anything touches it.
The Prep Routine That Actually Works
- Remove any old polish completely. Residue creates an uneven surface that prevents a clean bond.
- Push back your cuticles. Use the cuticle stick included in your kit. Adhesive that touches cuticle skin — not nail plate — will lift almost instantly.
- Buff lightly. A quick once-over with the fine side of your nail file creates a slightly rough surface that adhesive can grip onto.
- Wipe with the alcohol pad. This is non-negotiable. Oils from your skin, lotion, or even just daily life will destroy adhesion. Wipe each nail and let it dry fully — about 30 seconds — before applying.
- Don't touch your nails after wiping. Seriously. Even touching your face transfers oils back onto the nail plate.
If your nails tend to be naturally oily, do a double wipe: once right after buffing, and once more immediately before you apply. This single habit can add days to your wear time.
Step 3 — Choose Your Adhesive Wisely
Nail glue and adhesive tabs are not the same thing, and knowing when to use each one changes everything.
For a deeper look at which adhesives actually hold for two weeks, see our guide to stronger adhesive for long-lasting press-on nails.
Nail Glue vs. Adhesive Tabs
- Nail glue creates a much stronger, longer-lasting bond — ideal when you want maximum wear (5–10 days or more). Apply a thin layer to both the press-on and your natural nail, let it get tacky for about 10 seconds, then press firmly for 30–60 seconds. Less is more — a thick glob of glue is actually weaker and more likely to create air pockets.
- Adhesive tabs are great for short-term wear — events, weekends, or when you want to swap designs frequently. They're also gentler on your natural nails. The key is pressing hard and holding for a full 60 seconds to activate the adhesive properly.
Every Never Have I Ever kit ships with nail glue and double-sided adhesive tabs so you can choose based on your plans. Going to a festival? Glue. Trying a new design for the weekend? Tabs.

Step 4 — Apply With Intention (Not Just Speed)
Application technique is where the gap between "looks okay" and "looks salon-done" lives. Rushing this part is the most common reason edges don't sit flush.
To understand the common hurdles of DIY manicures and how to overcome them, explore why salon-quality nails at home are tricky and how press-ons bridge the gap.
The Application Technique That Minimizes Lifting
- Start at the cuticle, not the tip. Position the press-on just above your cuticle line, then rock it forward and down onto the nail plate. This pushes air out rather than trapping it underneath.
- Press from the center outward. Once the nail is placed, press firmly down the center first, then press along each side edge. This ensures full contact across the whole nail.
- Hold for a full 60 seconds. It feels like forever. Do it anyway. The bond forms during this time.
- Do your dominant hand first. Your non-dominant hand will always apply with less precision — save it for when you're warmed up and have the technique dialed in.
- Avoid water for at least an hour after application. The adhesive is still curing. Washing dishes or showering immediately after is one of the fastest ways to trigger early lifting.

Extending Wear: The Habits That Actually Help
Even a perfect application needs a little maintenance to hit that full wear window.
- Wear gloves for dishes and cleaning. Prolonged hot water exposure is the enemy of adhesive bonds. This one habit alone can double your wear time.
- Avoid picking or prying. If an edge starts to lift slightly, press it back down firmly. Picking at it accelerates the problem.
- Apply a drop of glue to any lifting edge immediately. Catching it early — before the whole nail is compromised — can save the set.
- Keep your nails dry between applications. If you're reusing a set, make sure the press-ons are completely clean and dry before storing them. Our sets are designed to be reused with proper care, so treating them well between wears pays off.

For Flat or Highly Curved Nail Beds
Standard press-on shapes are designed around an average C-curve, which means if your nail beds sit flatter or arch more steeply than average, you're fighting the shape before you even start. Here's how to work with it:
- Warm the press-on before applying. Hold it between your palms or run it briefly under warm (not hot) water. This softens the material slightly and lets it conform more closely to your natural curve.
- Apply glue rather than tabs. Glue fills micro-gaps between the press-on and your nail bed in a way that tabs can't.
- Press from the center out and hold longer — up to 90 seconds. Give the glue time to bridge any curve difference before it sets.
- Consider shorter nail styles. Shorter shapes like our square and short almond styles have less surface area to conform, which means less opportunity for the C-curve mismatch to cause lifting.
Ready to Try Again? Start Here.
If past press-on experiences have been frustrating, the sets below are great starting points — they include everything you need in the kit, come with sizing options, and are designed to be reused so you can practice and perfect your application over time.


Frequently Asked Questions
Why do my press-on nails keep lifting at the edges?
Edge lifting is almost always caused by one of three things: sizing that's slightly too wide (leaving a gap at the sidewalls), oils or moisture on the nail bed before application, or not pressing firmly enough for long enough. Work through the prep and sizing steps above and you'll see a significant difference.
How long should press-on nails last?
With nail glue and proper prep, most press-ons last 7–14 days. With adhesive tabs, expect 3–5 days of comfortable wear. The biggest variable is prep — a well-prepped nail bed with glue can outperform a poorly prepped one with any adhesive.
Can I reuse press-on nails?
Yes — all Never Have I Ever press-on sets are designed to be reused. After removal, gently clean any adhesive residue off the back of the nail, let them dry completely, and store them in their original tray. The better you treat them, the more wears you'll get.
What if my nail beds are flat or very curved?
Warm the press-on slightly before applying to make it more pliable, use nail glue rather than tabs, and hold each nail in place for up to 90 seconds. Shorter nail shapes also tend to conform more easily to non-standard nail bed curves.
Should I use nail glue or adhesive tabs?
Use nail glue when you want maximum wear (events, travel, extended everyday wear) and adhesive tabs when you want flexibility to swap designs or protect your natural nails between sets. Both are included in every Never Have I Ever kit.
Why does my non-dominant hand always look worse?
Totally normal — you have less motor control on that side. A few tips: do your dominant hand first to warm up your technique, work more slowly on the non-dominant hand, and use a slightly smaller size on that side if your nails vary. It gets easier with practice.
Can I put nail stickers over polish without them lifting?
Yes, but timing matters. Make sure your polish is fully cured — ideally 24 hours dry — before applying stickers. Press firmly from the center out, and seal with a topcoat for best results. Avoid applying stickers over thick gel-like top coats, which can prevent adhesion.