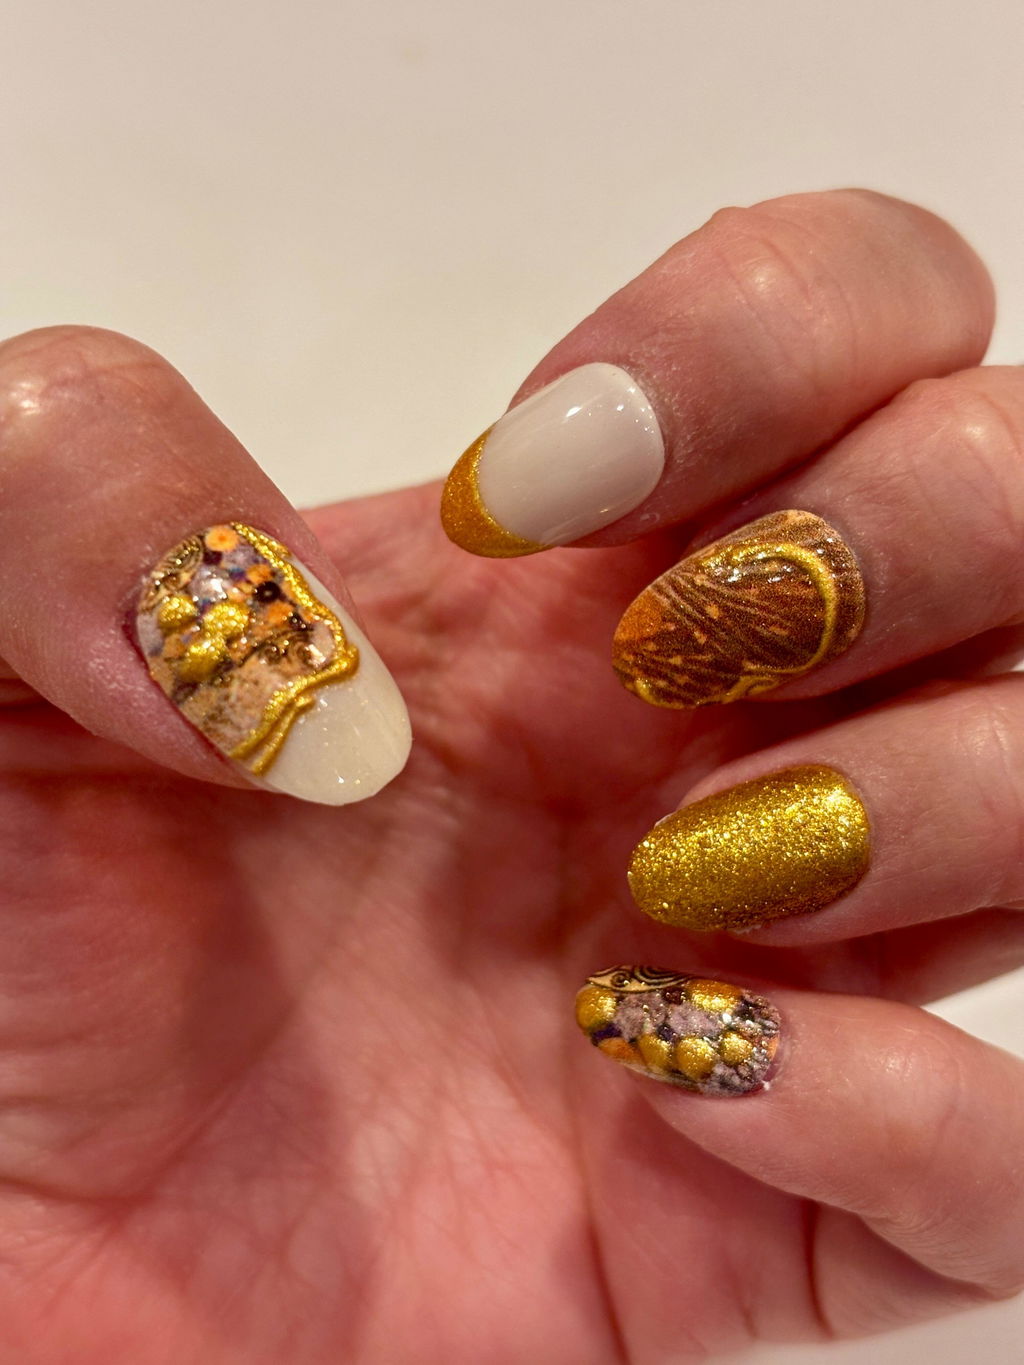
Press-On Nail Application Guide for Beginners & Difficult Nail Types
The Beginner's Complete Guide to Press-On Nails That Actually Stay On
Press-on nails are one of the fastest ways to get a gorgeous, artist-designed manicure at home — no UV lamp, no salon appointment, no waiting. Apply them correctly and they last a week or more. Rush the prep or skip a step, and they'll lift by day two. This guide walks you through everything: sizing, nail prep, adhesive choice, application technique, and special tips for flat C-curves, oily nail beds, and peeling nails.
For a full walkthrough of the at-home application process from prep to finish, see our guide to getting a salon-quality manicure at home with press-on nails.
If your priority is maximum wear time, our guide to making press-on nails last longer is a great next step.

Step 1 — Find Your Size First (This Is the Most Important Step)
Poor fit is the number-one reason press-ons lift early. Before you even open the glue, do a proper sizing session.
If you're dealing with lifting specifically, our guide to press-on nail fit and lifting issues breaks down the causes
For a complete walkthrough of sizing and customization, check out our guide to getting the perfect press-on nail fit.
How to Size Your Press-Ons
- Lay all sizes across your natural nail. The press-on should cover your nail from sidewall to sidewall without overlapping your skin on either side.
- When in between sizes, go smaller. A slightly narrow fit stays put; a slightly wide fit catches on everything and peels.
- File the sides — not the face. Use the included nail file to gently taper the edges of the press-on (not your natural nail) until it sits flush against both sidewalls.
- Check the cuticle edge. The bottom of the press-on should sit just above your cuticle line, not on top of it. Glue on skin = early lifting, every time.
Most Never Have I Ever sets include a range of sizes in each kit so you can mix and match across your fingers — your pinky and your ring finger almost certainly need different sizes, and that's completely normal.
Step 2 — Prep Your Natural Nails (Don't Skip This)
Clean nails are grippy nails. Any oil, moisture, or product residue on your nail bed will break down adhesive bond within days. Here's the prep routine that makes the real difference:
- Wash your hands with soap and dry thoroughly.
- Push back your cuticles using the included cuticle stick. You don't need to cut them — just gently push them toward the base of your nail so the press-on has a clean landing zone.
- Buff the surface lightly. A quick once-over with the fine side of your nail file creates micro-texture that adhesive can grip. Don't over-buff — you just want to break the shine, not thin your nail.
- Wipe with the alcohol pad. This is the step most beginners skip, and it's critical. The alcohol pad removes oils, buffing dust, and any invisible residue. Let it dry completely — about 30 seconds — before moving on.
- Don't touch your nail bed after this step. Your fingertips transfer oils instantly.

Step 3 — Choose Your Adhesive Method
Every Never Have I Ever kit comes with both nail glue and double-sided glue tabs, and choosing the right one for your situation matters.
Glue Tabs (Adhesive Stickers)
- Best for: Short-term wear (events, weekends, festivals), beginners who want easy removal, or anyone who reapplies frequently.
- Wear time: Typically 1–3 days with proper prep.
- Tip: Press firmly for 30–60 seconds after application. Warmth from your fingers activates the adhesive.
Nail Glue
- Best for: Longer wear — up to 1–2 weeks with good prep.
- How to apply: Apply a thin layer to the press-on (not your natural nail), wait 5 seconds until it becomes tacky, then press firmly onto your nail at a slight angle from the cuticle edge down. Hold for 20–30 seconds.
- Less is more. A thick blob of glue creates air pockets and actually weakens the bond. Thin and even wins every time.
- Brush-on glue tip: If your kit includes brush-on glue, use it — the brush gives you more control over coverage and helps you avoid the cuticle area.
Step 4 — Application Technique
This is where your dominant hand does great and your non-dominant hand suffers. Here's how to close the gap:
Struggling with non-dominant hand painting is just one reason DIY manicures fall short; see why getting salon nails at home is tough and how press-ons solve the problem.
- Work one nail at a time. Don't apply glue to multiple nails at once — it dries fast.
- Start at the cuticle edge. Angle the press-on slightly, align the bottom edge just above your cuticle, then rock it down toward your fingertip. This pushes out air bubbles.
- Press from center outward. Once placed, press down firmly in the center first, then work toward the sides and tip. This seats the nail flush and eliminates edge gaps.
- Hold for a full 30 seconds. Most beginners hold for five. The extra time makes a measurable difference in bond strength.
- For your non-dominant hand: Brace your dominant elbow on a table for stability. Work slowly. It gets easier with every set.

Special Guidance for Difficult Nail Types
Standard application advice assumes a fairly average nail shape. If your nails don't fit that mold, here's what actually helps.
Flat Nail Beds (Low C-Curve)
If your natural nails are very flat, a standard press-on — which has a gentle curve built in — will only contact your nail in the center, leaving the edges floating. This is one of the most common causes of lifting that has nothing to do with prep or glue quality.
If your C-curve falls outside the average range, our nail shape & C-curve compatibility guide walks through which shapes suit which nail beds.
- Size down. A narrower press-on means less edge overhang and a better chance of full contact.
- Use glue, not tabs. Tabs need full surface contact to bond. Glue can fill small gaps.
- Apply gentle pressure to the edges while holding — use your thumb and index finger to pinch the sides of the press-on against your nail for the full 30-second hold.
- File the inner curve slightly. Using the fine side of your file, you can very gently flatten the inner surface of the press-on to better match your nail's natural curve.
Oily Nail Beds
Some people naturally produce more sebum around their nails, and no amount of washing fully removes it. If your press-ons consistently lift within a day or two even with good prep, oily nail beds are likely the culprit.
- Double the dehydration step. Wipe with your alcohol pad, let it dry, then wipe again.
- Avoid applying right after a shower or washing dishes. Your nails absorb moisture and swell slightly — wait at least an hour.
- Apply a thin layer of nail glue to your natural nail as well as the press-on for extra bonding surface on oily beds specifically.
- Avoid applying lotion or cuticle oil to your nail beds for the first 24 hours after application.
Peeling or Damaged Nails
Peeling nails create an uneven surface that press-ons can't grip properly, and the peeling can continue underneath the press-on, causing it to lift from below.
- Gently buff away any peeling layers before prepping. Don't force it — just smooth the surface.
- Use glue tabs for short wear rather than glue, which can be harder to remove without further damage.
- Treat your nails between sets. Press-ons are actually great for protecting damaged nails while they recover — just make sure removal is gentle (soak in warm water, never force them off).
Short or Bitten Nails
Short nails have less surface area for adhesive, which means every prep step matters even more.
- Use glue over tabs for maximum bond on a small surface.
- Choose shorter press-on styles — a dramatic stiletto on a very short natural nail has more leverage working against the adhesive.
- Press firmly at the tip as well as the base, since the tip is where short nails lose contact first.

How to Make Your Press-Ons Last Longer
Even with perfect application, daily habits affect wear time. A few easy adjustments add days to your manicure:
- Wear gloves for dishes and cleaning. Prolonged water exposure is the fastest way to break down adhesive.
- Avoid picking, pulling, or using your nails as tools. Leverage at the tip edge is the most common cause of mid-week lifting.
- Apply a clear topcoat over the seam where the press-on meets your natural nail. This seals the edge and significantly extends wear.
- If an edge starts to lift, don't ignore it. Press it back down immediately with a drop of glue and hold for 30 seconds. Caught early, lifting is easy to fix.
Nail Art Add-Ons: Getting Stickers to Stay
If you're layering nail stickers over your press-ons (or over polish), a couple of extra steps keep everything in place:
- Make sure your base is fully dry before applying stickers. Even slightly tacky polish will cause stickers to shift or wrinkle.
- Seal with topcoat immediately after placing your sticker. This locks the edges down and prevents peeling.
- Apply a second topcoat layer after 24 hours for maximum longevity.

Removal: Do It Right So You Can Reuse
Never Have I Ever press-ons are designed to be reused — but only if you remove them properly.
- Soak your nails in warm, soapy water for 10–15 minutes. This softens the adhesive without damaging your natural nail.
- Gently wiggle from the side — never pry from the tip. If there's resistance, soak longer.
- Clean residual glue from the press-on using the cuticle stick or a gentle acetone wipe, then store your set flat in its original packaging.
- Moisturize your natural nails after removal — a little cuticle oil goes a long way.
Ready to Try? Start Here
If you're new to press-ons, a beginner-friendly almond shape is a great starting point — it's flattering on most nail beds and easier to size than very narrow or very wide shapes. Browse some of our most popular sets below and find the design that matches your mood:
- CHERRY COLA – Almond Press-On Nails — bold deep red, timeless and easy to wear
- FAIRY WING – Almond Press-On Nails — soft iridescence for an ethereal everyday look
- TIED AND TRUE – Almond Press-On Nails — pastel gradients and sweet bow details
- BURGUNDY CHERUB – Red French Tip — elegant and romantic for a polished statement
- Miffy Dream Bundle — includes press-ons and nail stickers for a complete look
Frequently Asked Questions
How long do press-on nails last?
With proper nail prep and nail glue, most press-ons last 7–14 days. Using adhesive tabs instead of glue typically gives 1–3 days of wear. The single biggest factor is nail prep — clean, dehydrated, buffed nails hold significantly longer than unprepared ones.
Why do my press-on nails keep lifting at the edges?
Edge lifting is almost always caused by one of three things: the press-on is slightly too wide for your nail (size down), the nail surface wasn't fully dehydrated before application (redo the alcohol wipe step), or the press-on wasn't held in place long enough during application (aim for a full 30 seconds). If you have a flat C-curve, the tips above for flat nail beds will also help.
Can I use press-on nails if I have flat nail beds?
Yes — flat nail beds just need a slightly adjusted approach. Size down to reduce edge overhang, use nail glue rather than tabs, and apply firm pressure to the sides of the press-on while holding. You can also very gently file the inner surface of the press-on to flatten its curve and match your natural nail shape more closely.
What's the best way to apply press-ons on oily nails?
Double-wipe with your alcohol pad, wait at least an hour after showering, and apply a thin layer of glue to both the press-on and your natural nail for extra adhesion. Avoid applying hand lotion or cuticle oil to your nail beds for the first 24 hours after application.
How do I get a salon-quality finish at home?
The biggest difference between a salon-quality result and a DIY result is usually the edges. After application, check each nail from the side — any visible gap between the press-on edge and your skin can be gently filed smooth. Finishing with a clear topcoat over the seam line also makes a significant visual difference and extends wear at the same time.
Are Never Have I Ever press-ons reusable?
Yes. All Never Have I Ever press-on nail sets are designed for reuse. Remove them gently by soaking in warm water, clean any adhesive residue from the inner surface, and store them flat. With proper removal and care, most sets can be worn multiple times.
Should I use nail glue or adhesive tabs?
Use adhesive tabs for short-term wear — events, weekends, or if you switch up your nails frequently. Use nail glue when you want maximum wear time and have done a thorough nail prep. For difficult nail types like oily or flat nail beds, nail glue is always the better choice.
Can I put nail stickers over press-on nails?
Absolutely — and it's one of the most fun ways to customize your look. Make sure the press-on surface is clean and smooth before applying the sticker, press firmly from center to edges, and seal immediately with a clear topcoat to lock the sticker edges down and prevent lifting.