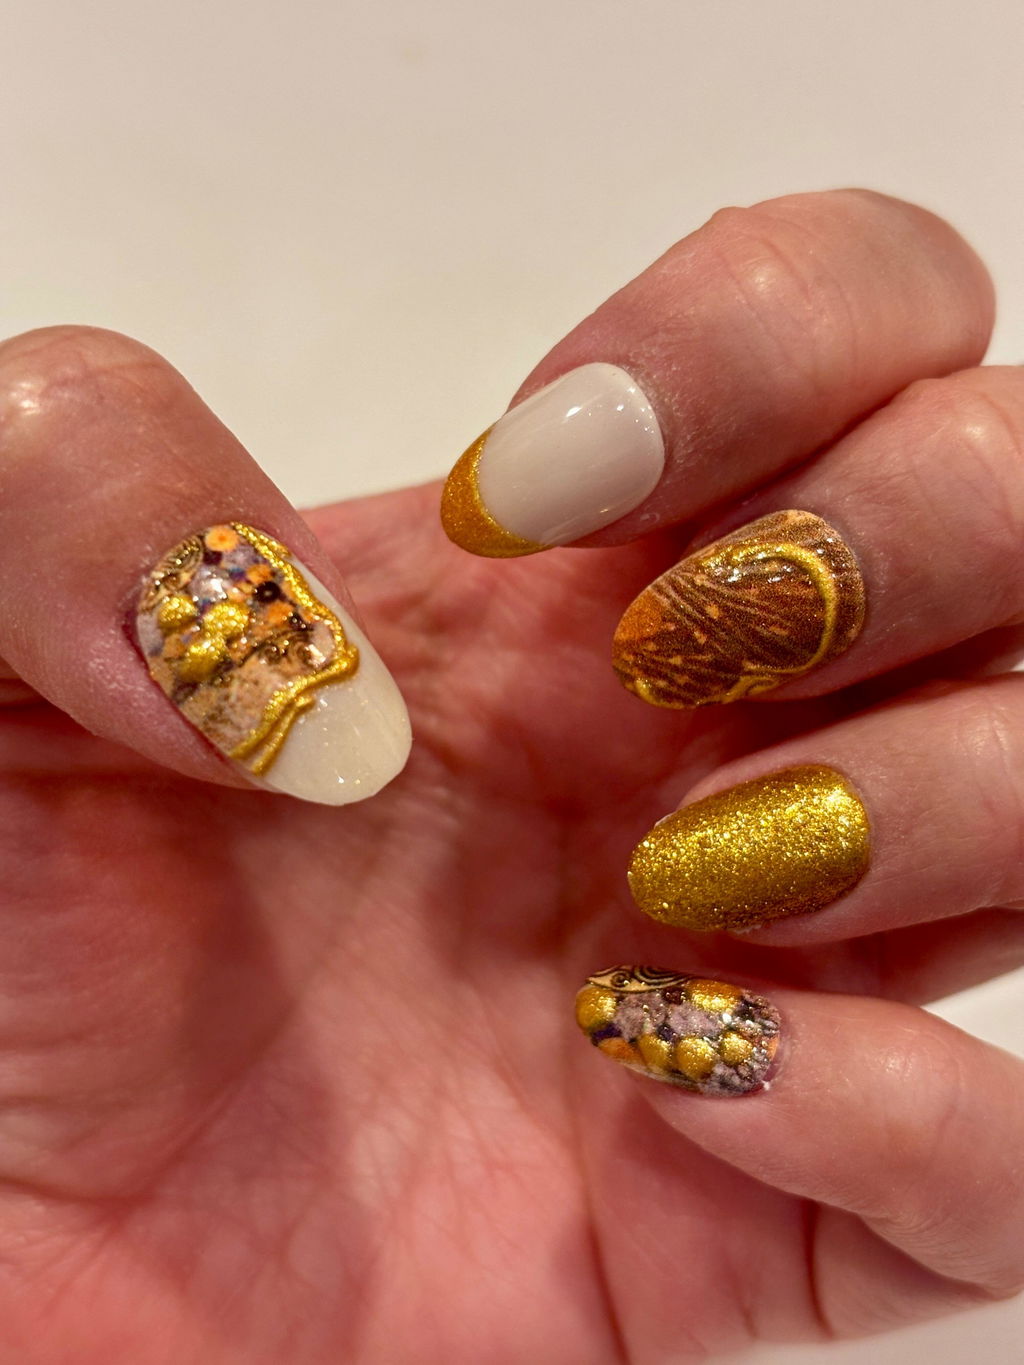
Why Your Press-On Nails Lift (And How to Get a Perfect Fit Every Time)
The short answer: Press-on nails lift when the size is slightly off, the nail surface isn't properly prepped, or the adhesive isn't strong enough for your lifestyle. Fix all three, and your press-ons can last up to two weeks — no salon appointment needed.
If your adhesive isn't strong enough, our guide to making press-on nails last longer with stronger adhesive can help you choose the right one.
Want the full salon-quality experience at home? Our step-by-step press-on manicure guide covers everything from prep to final look.
The Real Reason Your Press-Ons Won't Stay Put
We hear it all the time: "They looked amazing for a day, then one popped off at dinner." Sound familiar? The good news is that lifting almost never comes down to the press-ons themselves — it comes down to fit and prep. Once you nail both (pun intended), the difference is night and day.
If you want a step-by-step fix for press-ons that pop off early, check out our post on why your press-on nails keep falling off.
There are three culprits behind lifting and poor fit, and they almost always work together:
- Wrong size: A nail that's even slightly too wide creates tiny gaps at the edges — and that's where moisture and air sneak in.
- Unprepped nail surface: Oils, lotion residue, or old polish prevent adhesive from bonding properly.
- Adhesive tabs vs. nail glue: Adhesive tabs are great for short-term wear (think: a night out), but for anything longer, nail glue is the move.
Step 1: Sizing — The Most Important Step Nobody Talks About
Getting the right size is everything. A press-on that's too wide will lift at the sides. One that's too narrow looks unnatural and creates pressure points that cause it to pop off faster. Here's how to size like a pro:
For an even deeper dive into sizing and customization, see our complete press-on nail sizing and fit guide.
How to Find Your Perfect Size
- Lay the nails out before you apply anything. Hold each press-on over your natural nail and check that it covers the full width of your nail bed — edge to edge — without overlapping your skin.
- When in doubt, go smaller. A nail that's slightly narrow can be filed to fit. One that's too wide can't be fixed once it's on.
- Check the curve. The press-on should sit flush against your nail's natural curve. If it's arching away from your nail at the center or the tip, it's the wrong size or shape for your nail bed.
- Size each finger individually. Most people have different widths across their fingers — your ring finger and pinky are rarely the same size. Take the time to match each nail separately.
If you have wider nail beds, don't force a size that almost fits. A slightly longer nail that you file down to the right length is always better than one that's too wide and lifts at the edges.
Shape Matters Too
Different nail shapes sit differently on different nail beds. Almond and short oval shapes tend to be more forgiving for a variety of nail bed widths, while square and coffin shapes require a more precise width match. If you've had lifting issues in the past, try a different shape — it might be the fix you didn't know you needed.
For a full breakdown of which shapes work best for which nail beds, our nail shape & C-curve compatibility guide covers it in detail.

Step 2: Prep Your Nails Like You Mean It
This is the step most people skip, and it's the biggest reason press-ons fail. Your natural nail needs to be completely clean, dry, and oil-free before anything goes on it. Even the best adhesive can't bond to a surface that's been touched, lotioned, or left with old polish residue.
Your Pre-Application Checklist
- Remove old polish completely — including any base coat.
- Wash your hands and dry them thoroughly.
- Push back your cuticles. This gives the press-on more surface area to bond to and prevents the edge from catching on skin.
- Buff the surface lightly. A quick, gentle buff with a fine-grit file removes the shine from your natural nail and gives the adhesive something to grip.
- Wipe with rubbing alcohol or nail prep solution. This is non-negotiable. It removes any remaining oils or residue that would stop the adhesive from bonding. Let it dry completely before moving on.
- Do not apply lotion or hand cream beforehand. Save that for after your nails are done.
Spending an extra five minutes on prep can add days — sometimes a full week — to your wear time. It's the most underrated step in the whole process.
Step 3: Adhesive — Tabs vs. Nail Glue
Here's the honest truth: adhesive tabs are convenient, but they have limits. They're ideal when you want to wear your press-ons for a day or two and then remove them cleanly for reuse. For anything longer — a vacation, a wedding week, everyday wear — nail glue gives you a significantly stronger, more reliable hold.
When to Use Adhesive Tabs
- Short-term wear (1–3 days)
- When you want to reuse your press-ons multiple times
- Events where you'll be removing them the same night
When to Use Nail Glue
- Longer wear (up to two weeks)
- Active lifestyles — if you're washing dishes, swimming, or working with your hands
- When you want a hold that feels closest to a salon set
If a nail starts to lift at the edge during wear, don't just press it back down. Gently lift it, clean both surfaces with rubbing alcohol, let them dry, and reapply with a fresh dot of nail glue. The Peanuts On-the-Go Kit Gift Set includes nail glue alongside a file and cuticle pusher — exactly the kind of kit worth keeping in your bag for on-the-spot fixes.

Step 4: Application — Slow Down and Press Hard
Application technique makes a bigger difference than most people expect. Rushing through it is one of the most common reasons nails lift within the first 24 hours.
How to Apply for Maximum Hold
- Apply adhesive to your natural nail, not the press-on. This gives you better control and coverage.
- Start at the cuticle edge. Align the press-on just above your cuticle line — not on top of it — and press down from the base toward the tip.
- Apply firm, even pressure for 30–60 seconds. Most people press for five seconds and move on. Don't. Hold it. The longer you apply pressure, the stronger the initial bond.
- Press from the center outward to push out any air bubbles that could create lifting points.
- Avoid water for at least one hour after application. Give the adhesive time to fully cure before you wash your hands or do dishes.
How to Make Press-Ons Last Longer Day-to-Day
Even with a perfect application, your habits after the fact matter. A few small adjustments can take your wear time from a few days to close to two weeks.
- Wear gloves for cleaning and dishwashing. Prolonged exposure to water and cleaning products is the number one enemy of press-on adhesive.
- Use the pads of your fingers, not your nail tips. Opening cans, typing aggressively, or using your nails as tools puts direct stress on the tip — where lifting usually starts.
- Keep your nails dry after showering. Pat them dry rather than letting water sit under the edges.
- Apply a thin layer of clear top coat over the edge where your press-on meets your natural nail. This seals the seam and adds an extra layer of protection against lifting.

How to Reuse Your Press-Ons (And Actually Get Multiple Wears)
Never Have I Ever press-ons are designed to be reused — but that only works if you remove and store them properly. Reusability is one of the biggest value differentiators of a quality press-on set, and it's worth doing right.
Safe Removal
- Soak your nails in warm, soapy water for 10–15 minutes to loosen the adhesive.
- Gently wiggle the press-on from side to side — never force or peel it straight off, which can damage both the press-on and your natural nail.
- If there's resistance, soak a little longer. Patience here protects the nail.
Cleaning and Storing
- Remove any adhesive residue from the back of the press-on with a gentle cleanser. A soft brush and mild dish soap works well to clean the surface without damaging the design.
- Let them air dry completely before storing.
- Store them in the original tray or a small container, keeping sizes organized so you're not hunting for the right nail next time.
When you're ready to reapply, start the whole process fresh: clean, buff, alcohol wipe, then apply. Reused press-ons with proper care can look just as good on the second or third wear as they did the first time.

Troubleshooting: Common Fit and Lifting Problems
"The nail looks fine but keeps popping off at the tip."
This usually means the nail is slightly too long for your nail bed, creating a lever effect where the tip catches on things and pulls the base loose. Try filing the tip shorter, or size down to a nail that naturally ends closer to your fingertip.
"The edges lift within a day, even with glue."
Nine times out of ten, this is a prep issue. Go back and make sure you're buffing the nail surface and wiping with rubbing alcohol before applying. Even trace amounts of skin oil are enough to prevent proper bonding at the edges.
"The nail sits flat in the middle but gaps at the sides."
The press-on is too wide for your nail bed. Try the next size down. If you're between sizes, a slightly narrower nail filed to fit will always look more natural than one that's too wide.
"My nails look great but feel thick and uncomfortable."
This can happen when adhesive builds up from multiple applications. Make sure you're fully removing old adhesive from your natural nail between wears, and that you're not layering too much glue on each application — a thin, even layer bonds better than a thick one.
Find Your Perfect Set
Getting the fit and application right is half the equation. The other half is finding a set that actually excites you enough to wear it. Never Have I Ever press-ons come in a range of shapes — almond, short oval, square, coffin, stiletto — so you can find the silhouette that works best for your nail bed and your style.

If you're new to press-ons or want to try a few different shapes and styles, a bundle is the best way to experiment. The Art You Can Wear Bundle and The Masters Bundle both pair multiple sets so you can figure out what fits your nail beds — and your aesthetic — best.
Frequently Asked Questions
Why do my press-on nails keep lifting at the edges?
Edge lifting is almost always caused by one of three things: the nail is slightly too wide for your nail bed, your nails weren't fully degreased before application, or you used adhesive tabs instead of nail glue. Fix your sizing, add an alcohol wipe to your prep routine, and switch to nail glue for longer wear.
How long should press-on nails last?
With adhesive tabs and proper prep, expect 3–5 days of comfortable wear. With nail glue and a thorough prep routine, press-ons can last up to two weeks — comparable to a salon gel manicure. Your day-to-day habits (avoiding prolonged water exposure, not using nails as tools) make a big difference too.
How do I know which press-on nail size to use?
Hold each press-on over your natural nail before applying. It should cover your nail bed edge to edge without overlapping your skin. When you're between sizes, go smaller — a slightly narrow nail can be filed to fit, but one that's too wide will always lift at the sides.
Should I use nail glue or adhesive tabs?
It depends on how long you want to wear them. Adhesive tabs are great for 1–3 days of wear and make removal and reuse easier. Nail glue gives you a much stronger bond — ideal for events, vacations, or everyday wear where you want maximum hold.
Can I reuse press-on nails?
Yes — Never Have I Ever press-ons are designed to be reused. Remove them gently by soaking in warm soapy water, clean the adhesive residue from the back, let them dry completely, and store them in their original tray. With proper care, you can get multiple wears from a single set.
Why did my press-on nail split or break?
Press-ons can split when they're put under direct stress — using your nails to open packaging, aggressive typing, or catching them on fabric. Try to use the pads of your fingers instead of your nail tips for everyday tasks, and avoid using your nails as tools.
How do I stop press-on nails from lifting when I wash my hands?
Make sure you're applying with nail glue rather than adhesive tabs, and seal the edge where the press-on meets your natural nail with a thin layer of clear top coat. After washing your hands, pat your nails dry rather than rubbing them. Avoid soaking your hands for extended periods, and wear gloves when doing dishes or cleaning.
What shape of press-on nail is best for wide nail beds?
Almond and short oval shapes tend to be the most forgiving for a range of nail bed widths because the tapered sides reduce the chance of the nail being too wide at the edges. Square shapes require a more precise width match, so if you've had lifting issues with square press-ons, try switching to almond or oval.